CloudCADI Application Onboarding Process
Onboarding Process helps to connect your aws account with the CloudCADI. The steps are as follows,
3.1 Setting Up an Admin Account
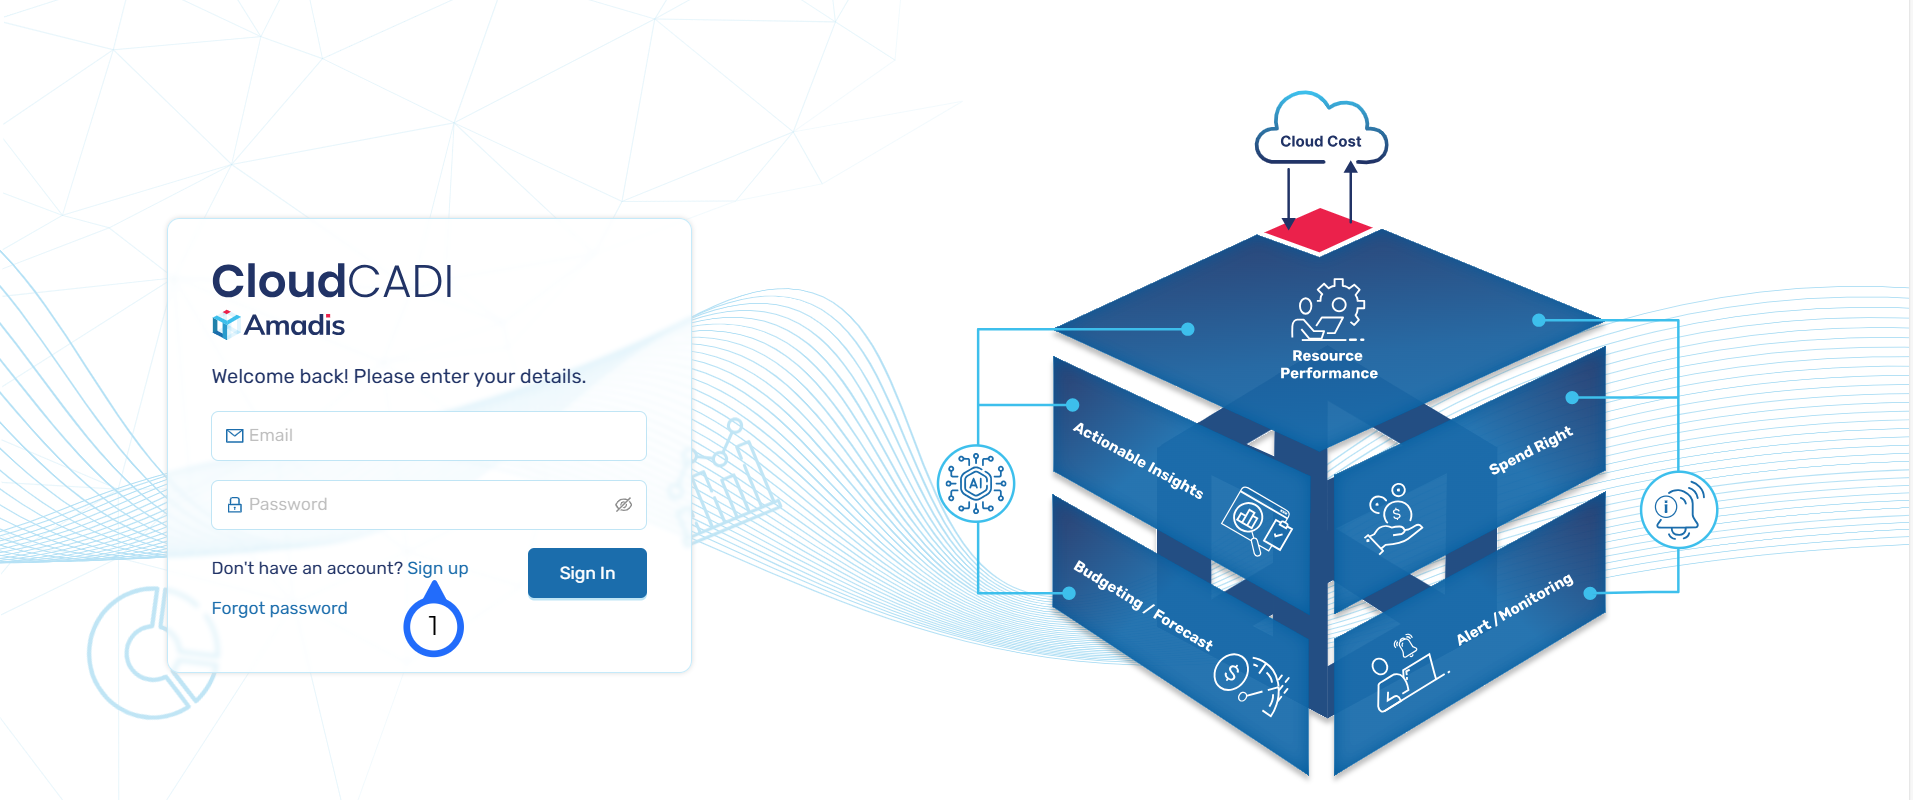
- Visit PublicIP and Signup to CloudCADI.
Note
- The initial user who completes the sign-up process is automatically designated as the administrator, granting them full access to create cloud account, as well as approve, activate, and deactivate cloud accounts.
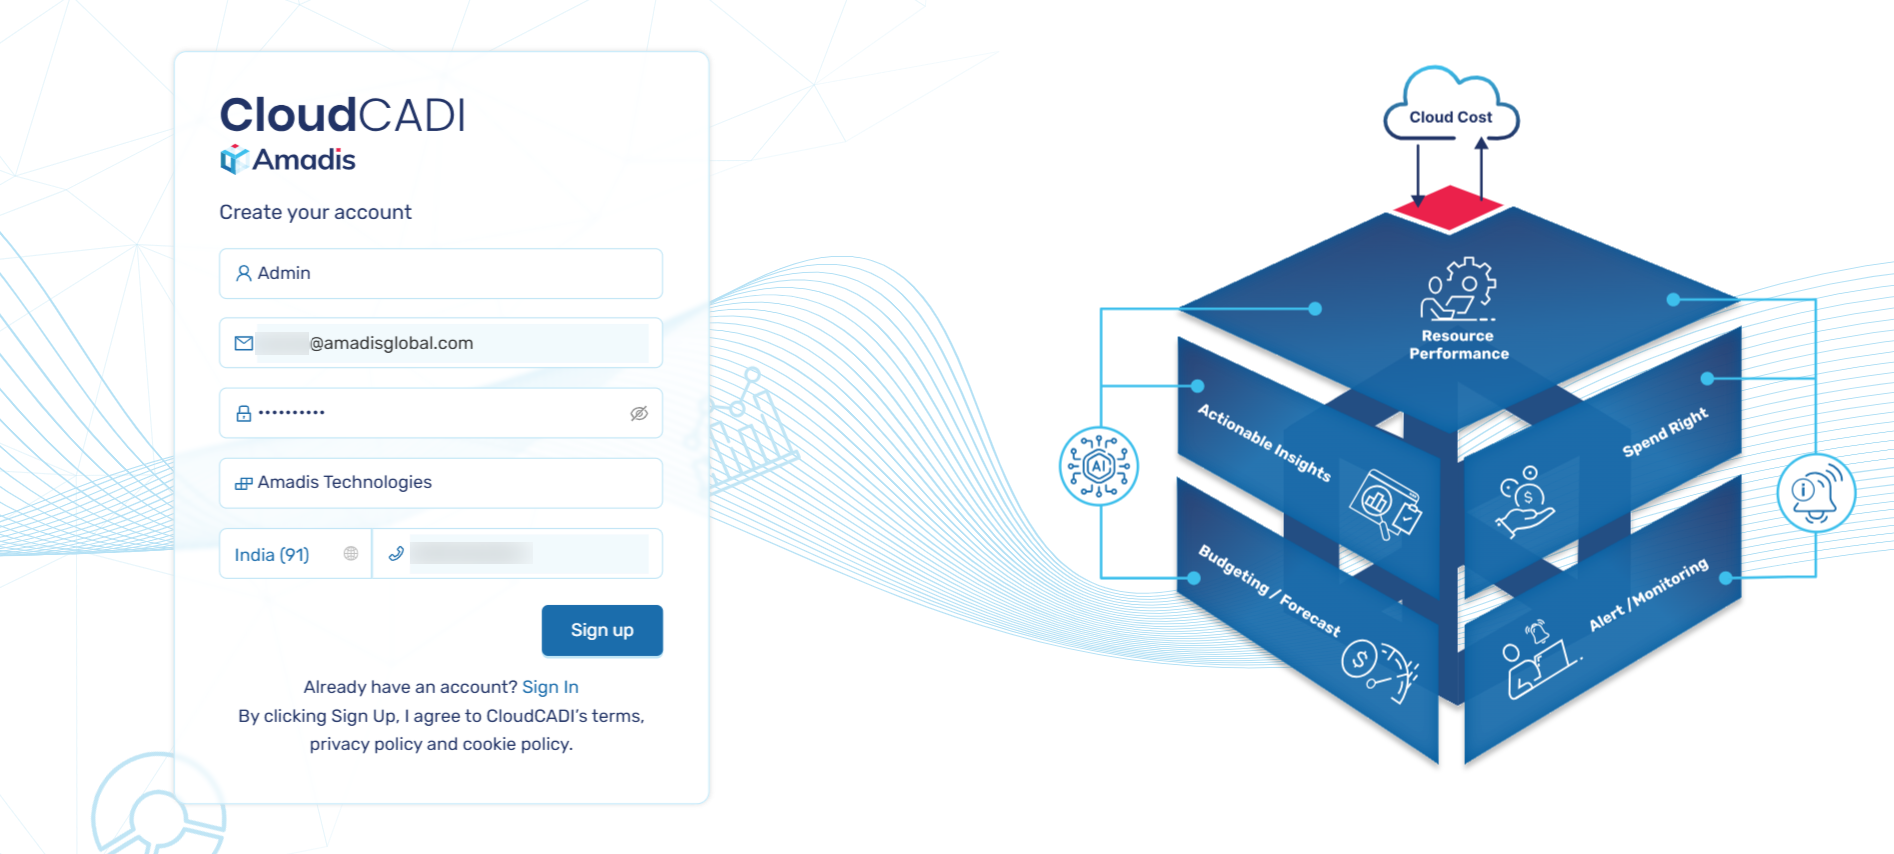
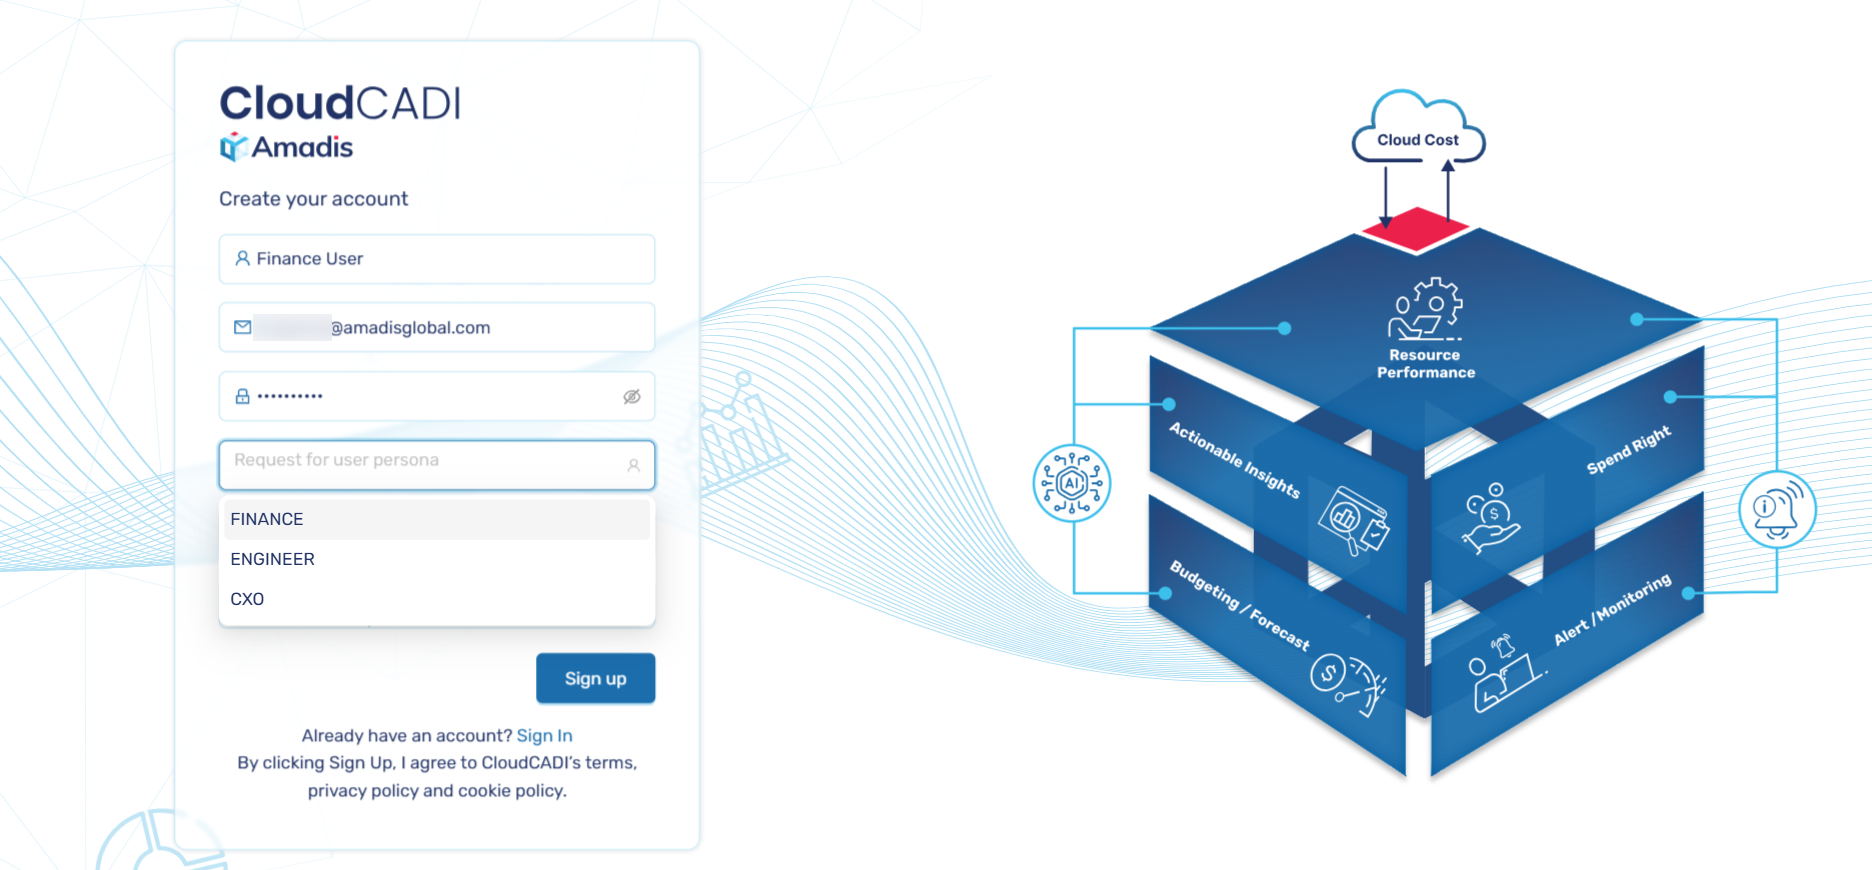
- Create your account by entering your name, organization name, and phone number. After entering your details, click Sign up to proceed.
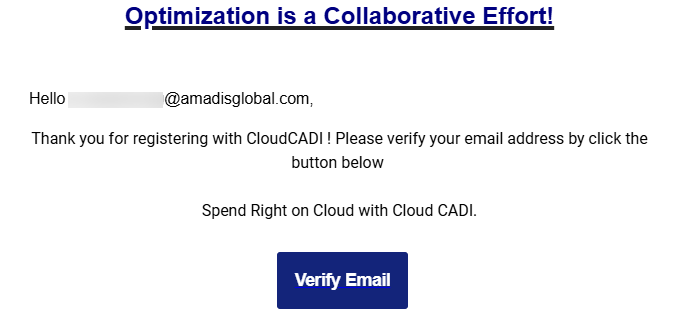
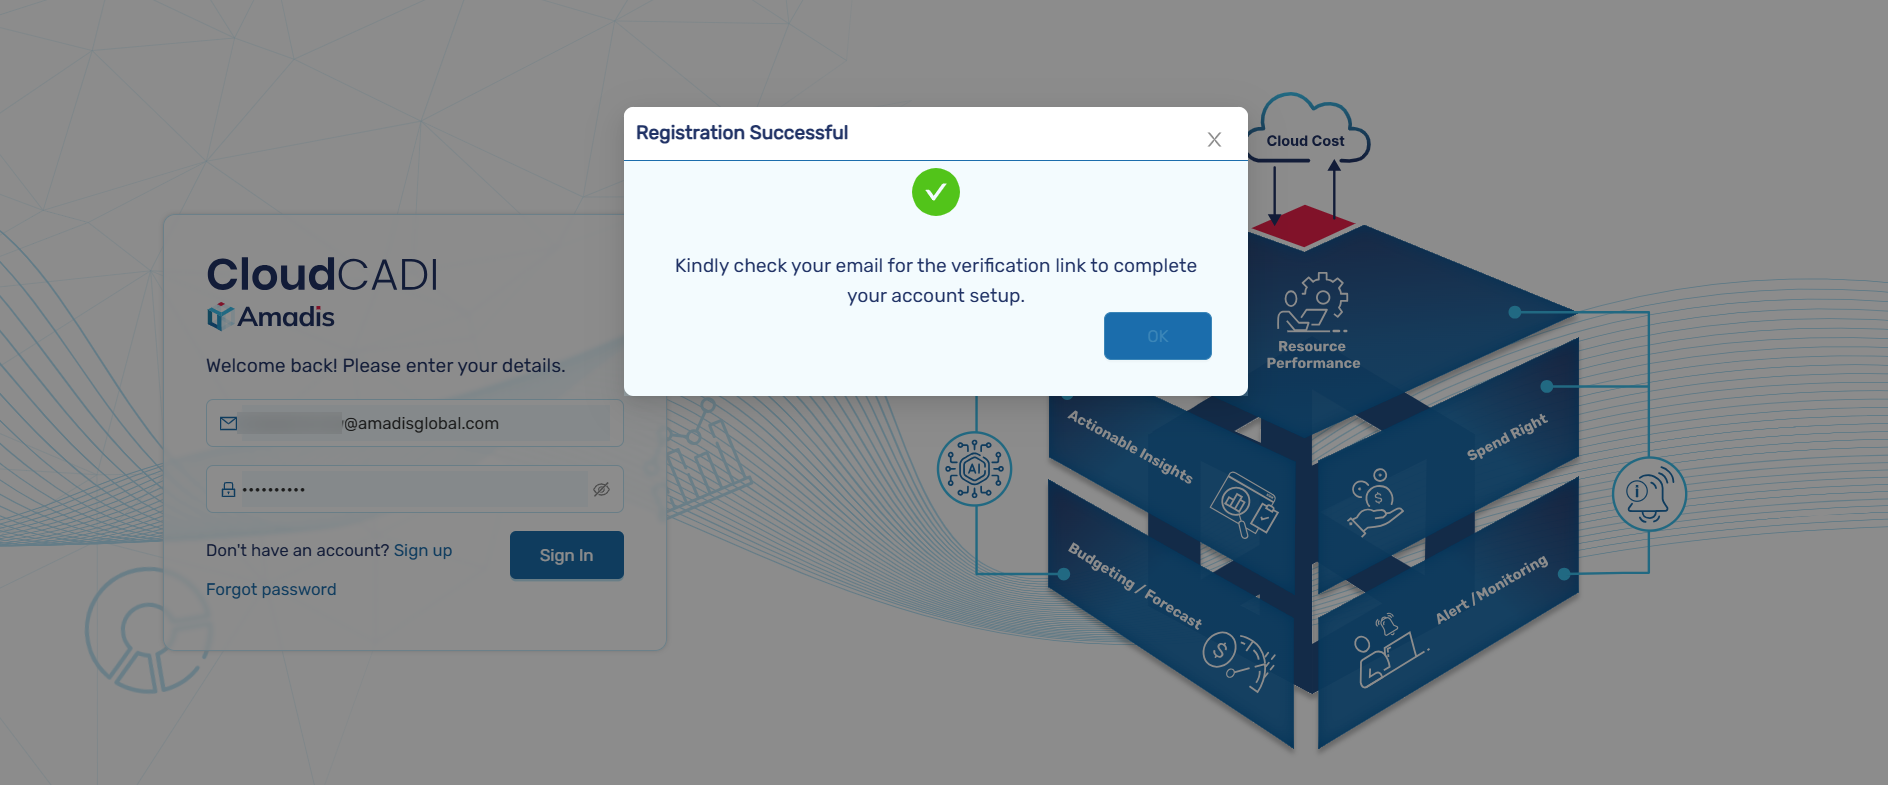
- A verification email will be sent to your registered email address.

-
After receiving the verification email, open it.
-
Click on the Verify Email button to complete the email verification process.
- After successfully verifying your email, Sign in with your account.
- During the sign-in process, an OTP will be sent through email. After entering the OTP, the admin will be successfully log in.
Note
- OTP is sent only to the admin account, and there is no OTP verification for user accounts.

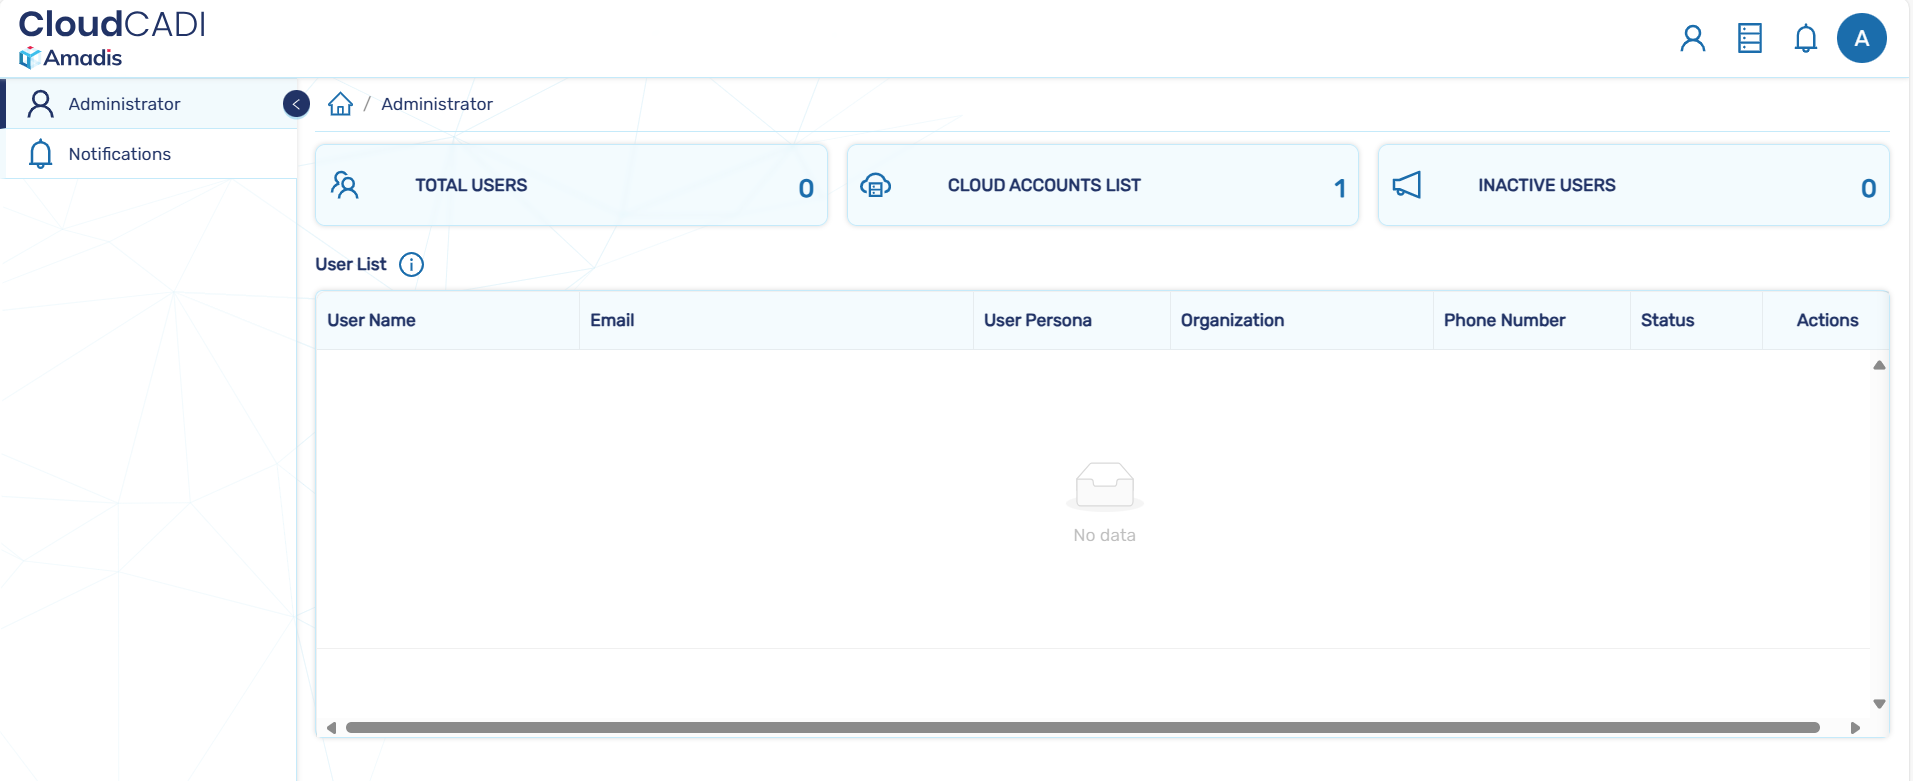
- After log in, you will be redirected to the admin page.
3.2 Create Cloud Account
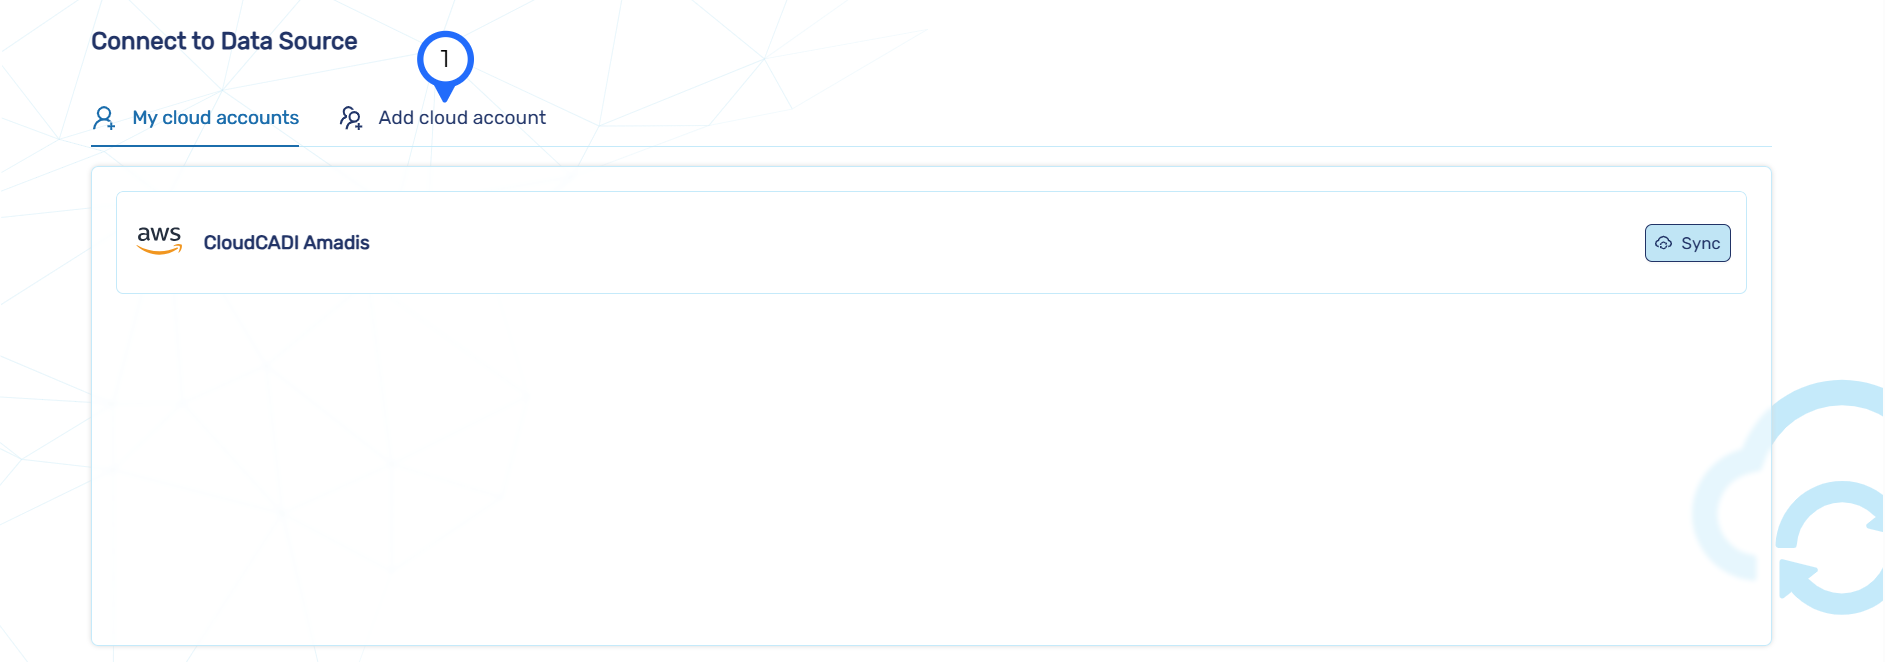
- After log in, you will be redirected to the admin page then, click on the icon.
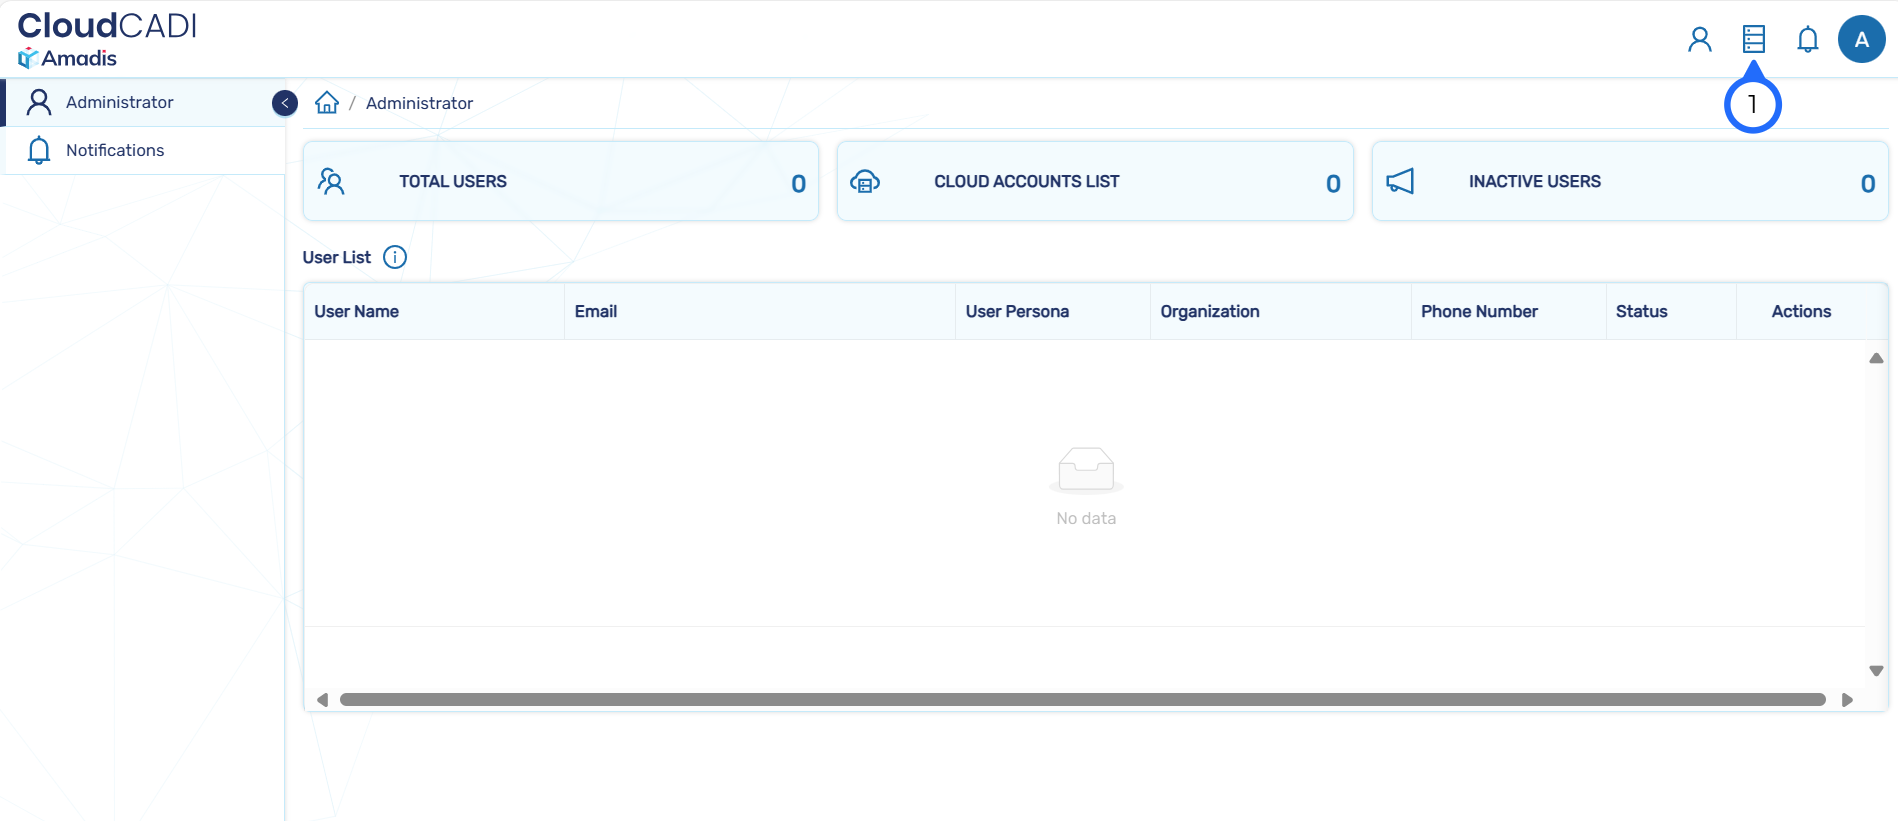
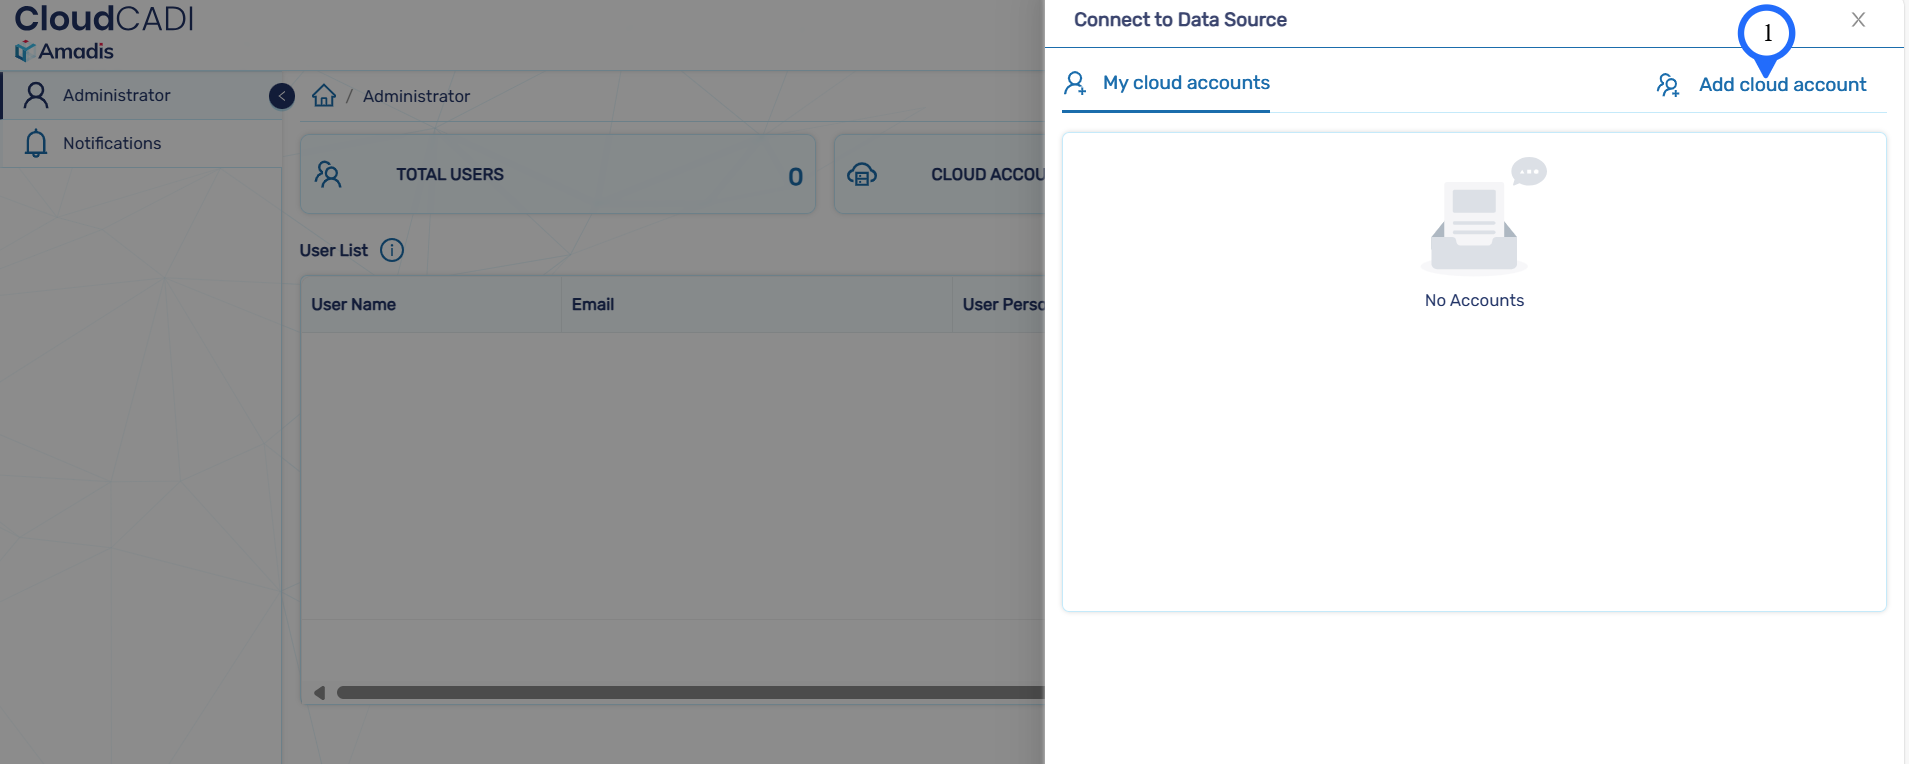
- Click on the Add cloud account button. Only the Admin has the authority to create a cloud account.
- Enter Account Name(custom name), AWS account ID(copied from your AWS Console) and AWS Region(the region where you deployed CloudCADI).
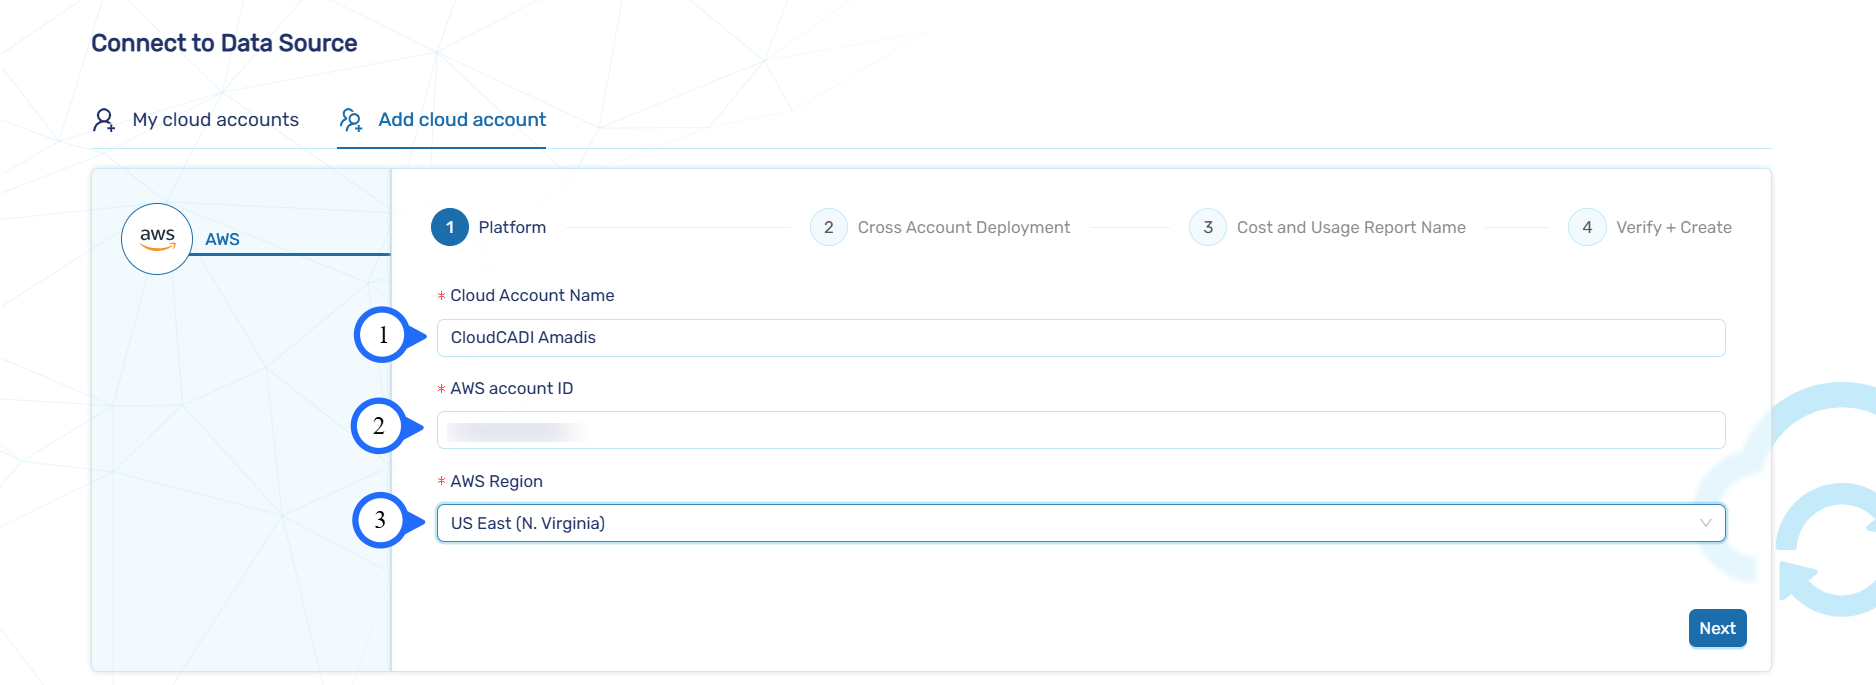
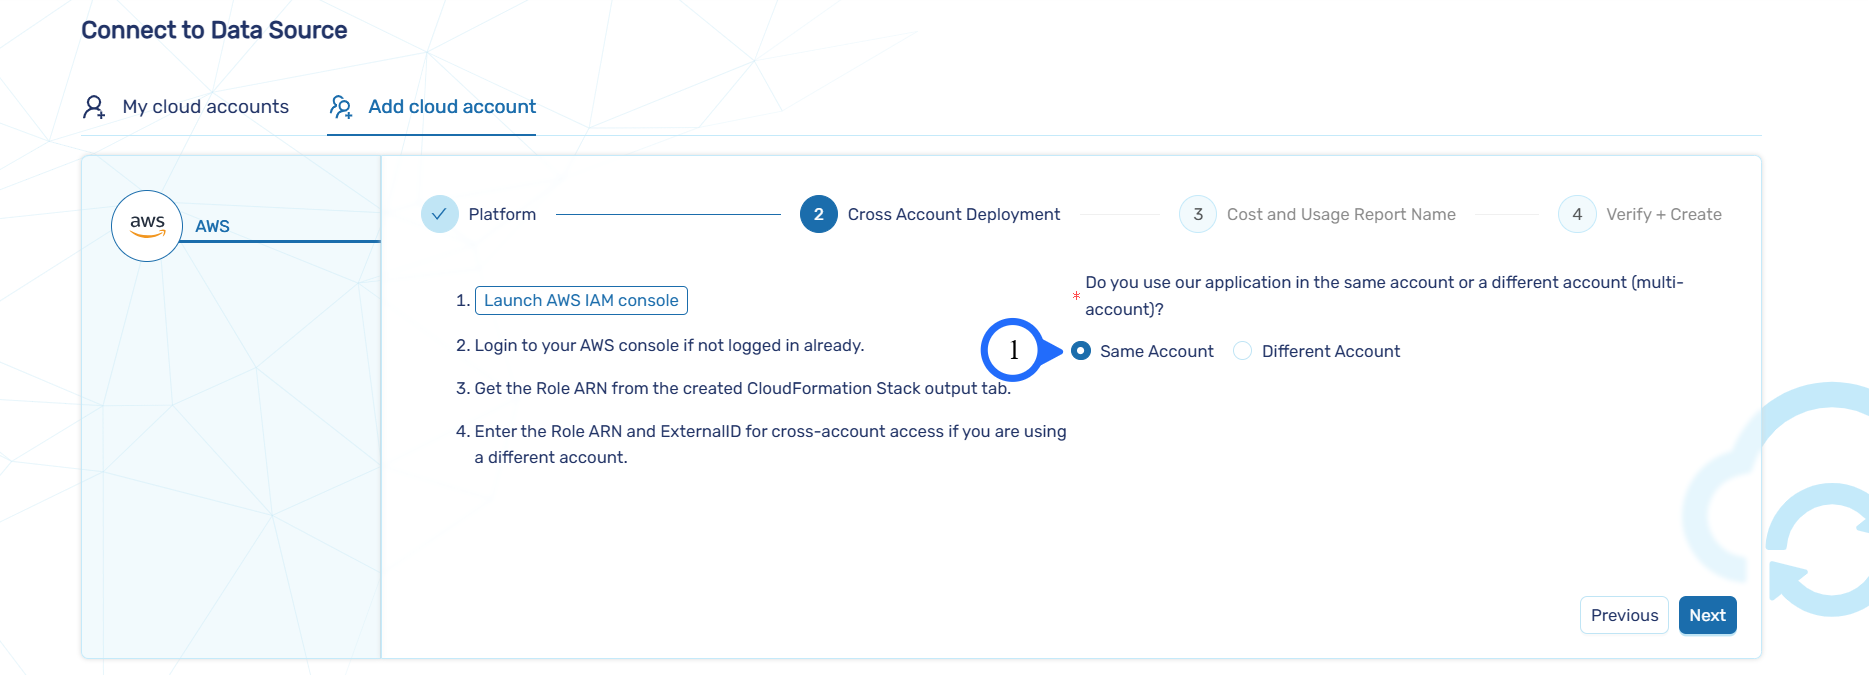
- To perform multi-account deployment, select different account. Otherwise, select the same account.
Note
- For multi-account deployment refer to the Create Cloud Account for Multi Account section.
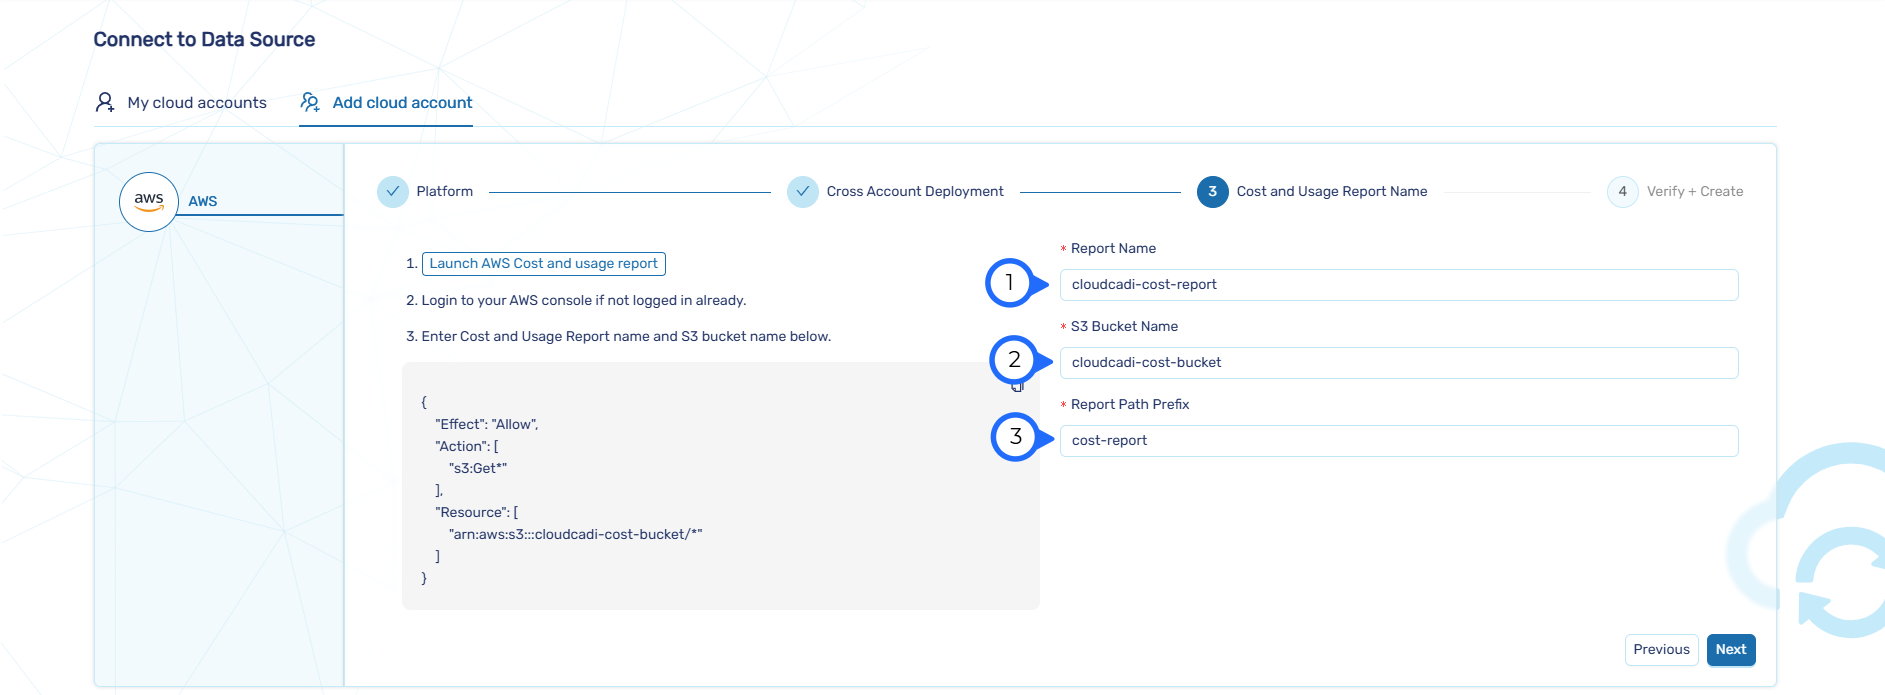
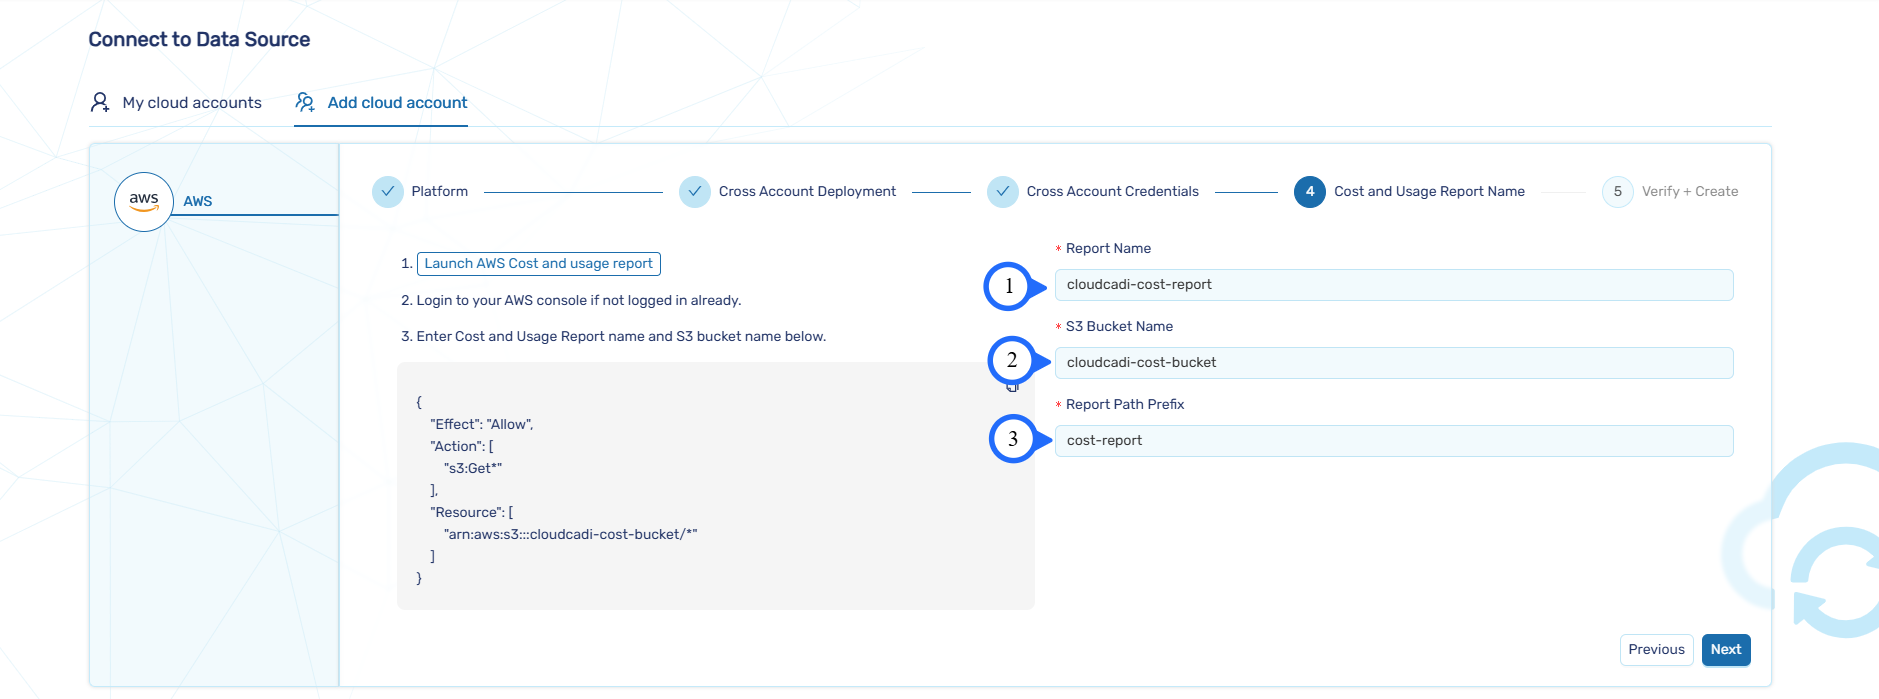
- Enter Cost and Usage Report configuration (created in Step 1 Environment Setup).
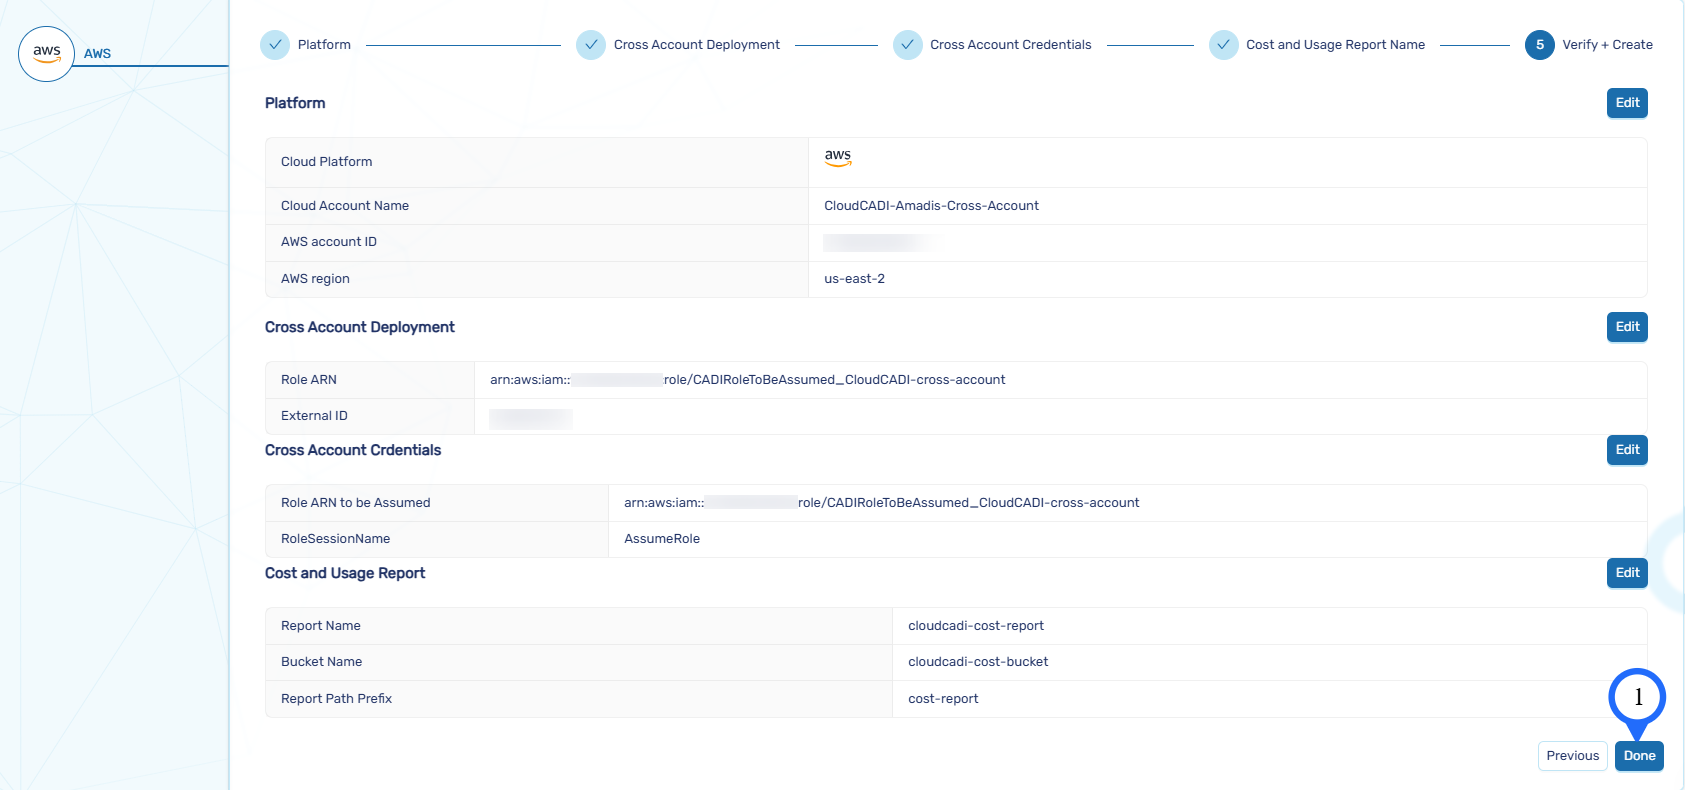
- Review and click Done.

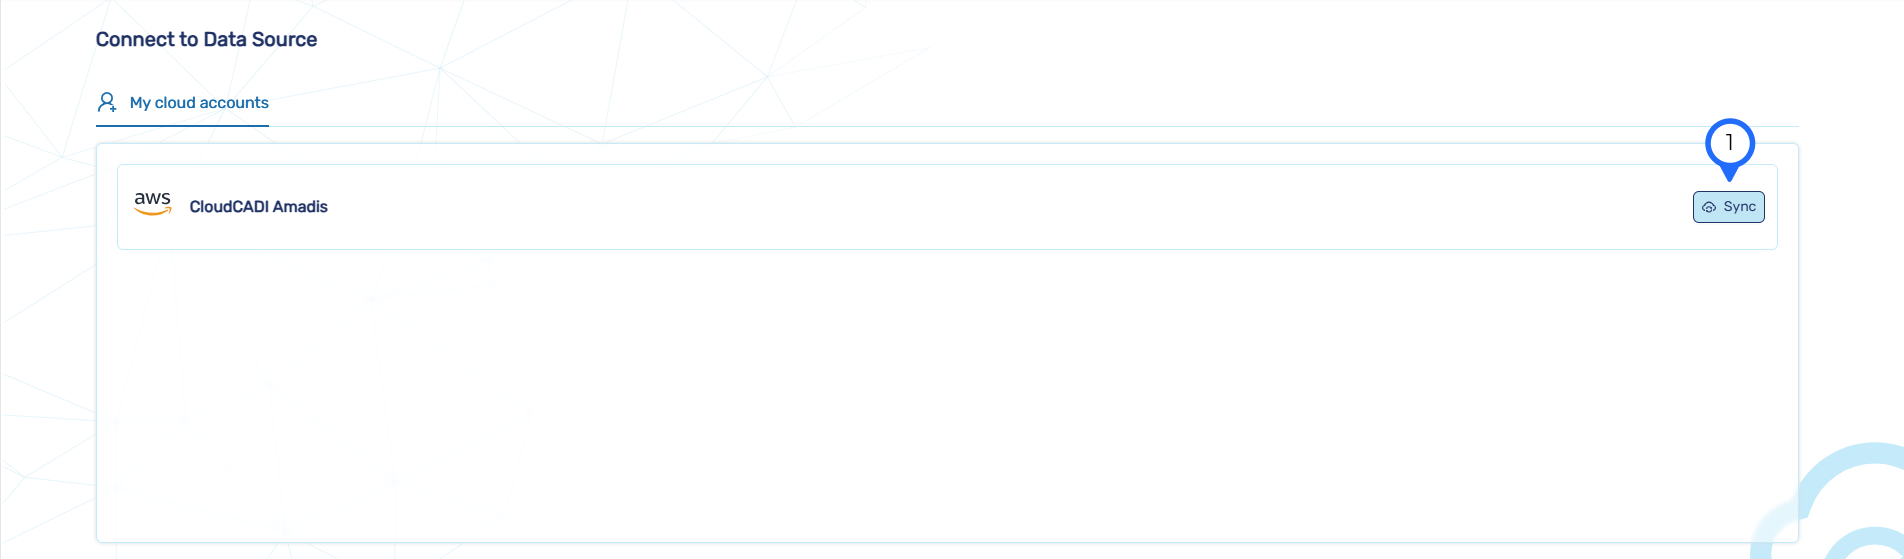
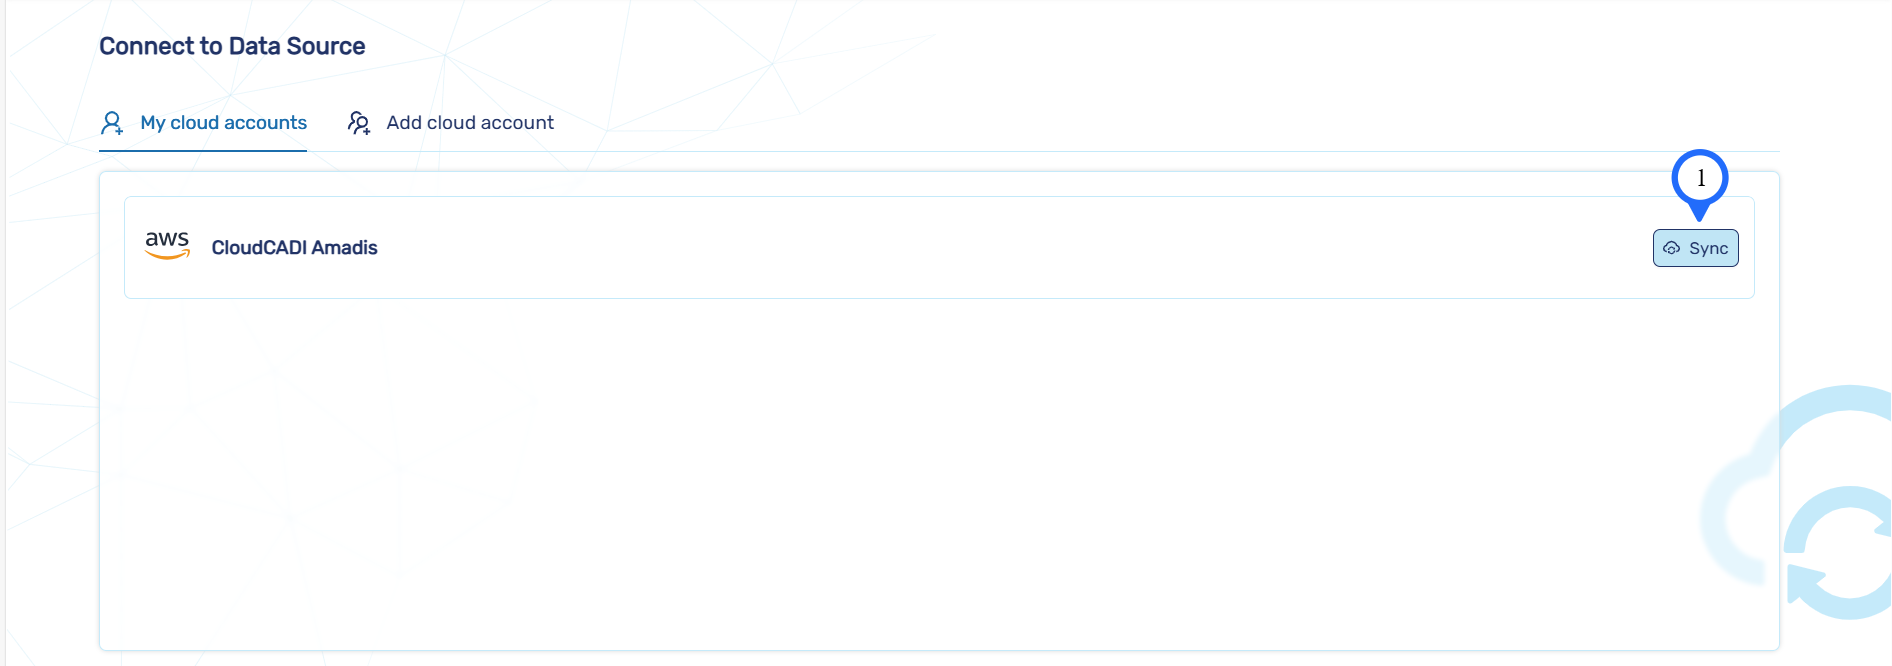
- After creating a cloud account, sync the account by clicking Sync button.
3.2.1 Create Cloud Account for Multi Account
-
To perform multi-account deployment, first you need to configure cost and usage report in that account. (Refer to Step 1 Environment Setup).
-
Click on Add Cloud Account.
- Enter Account Name(custom name), AWS account ID(copied from your AWS Console) and AWS Region(the region where you deployed CloudCADI).
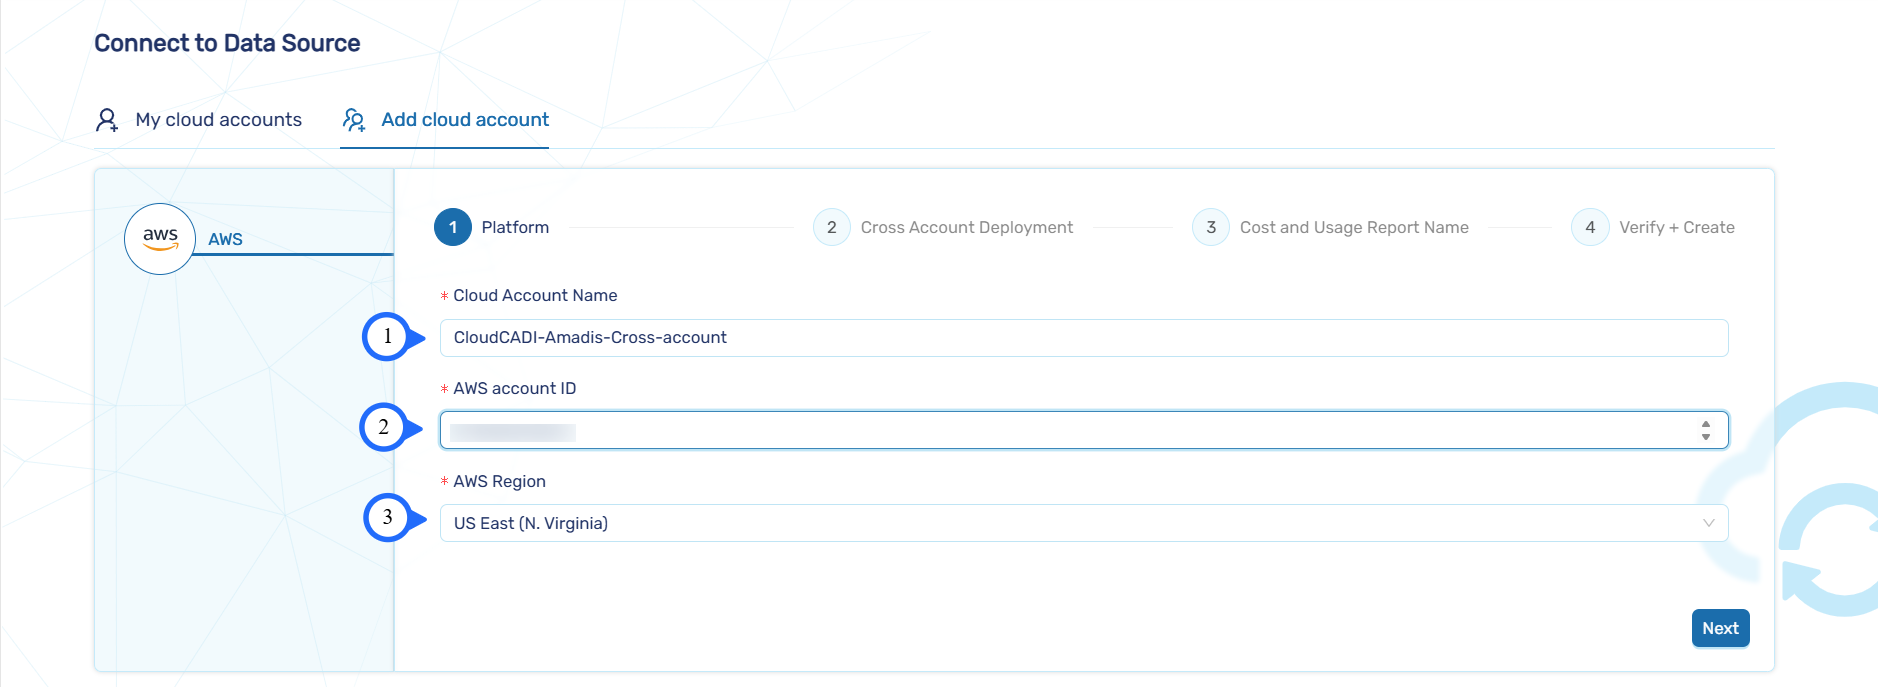
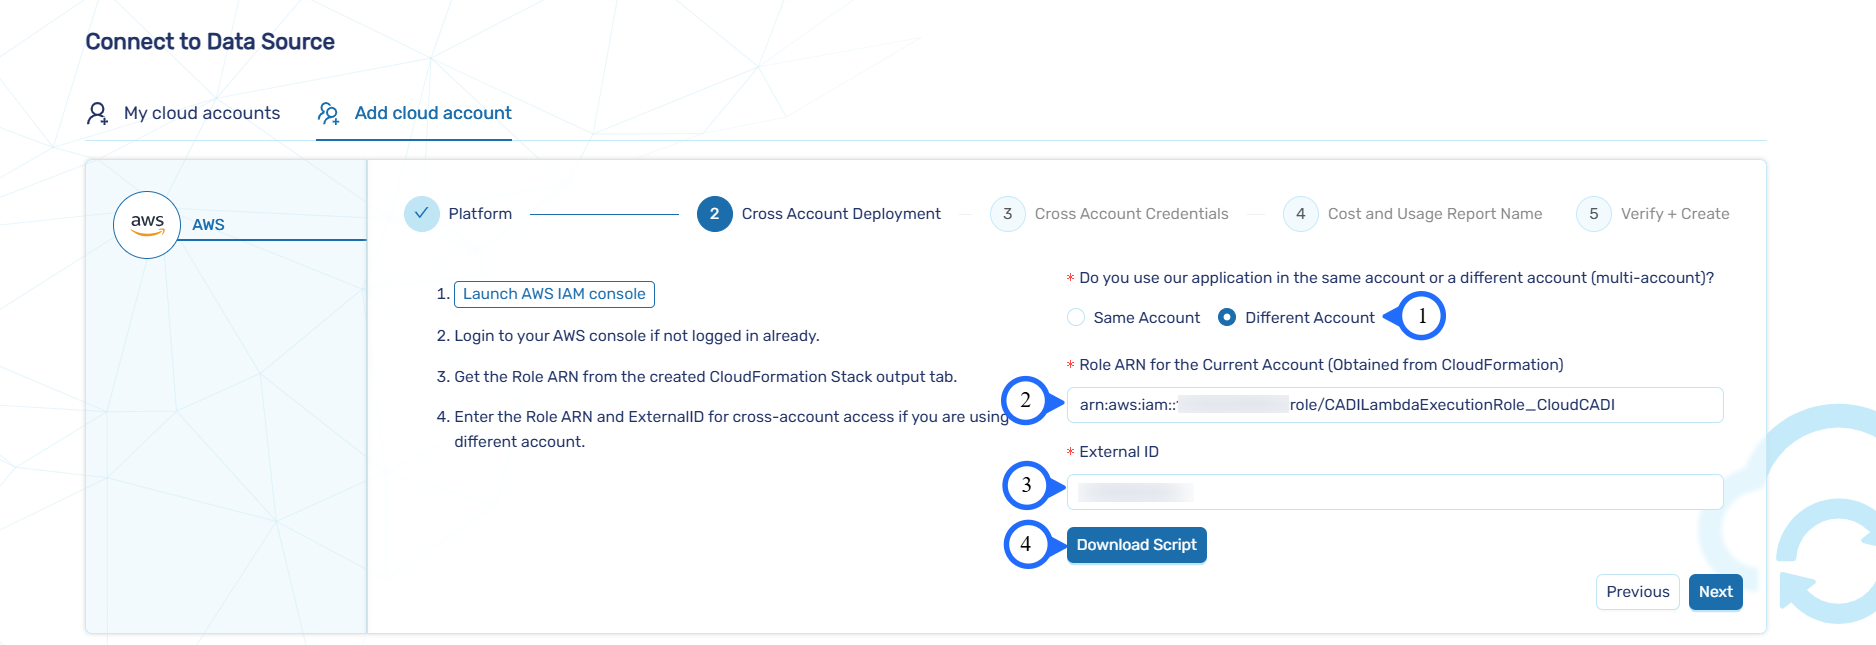
- To perform multi-account deployment, select different account.
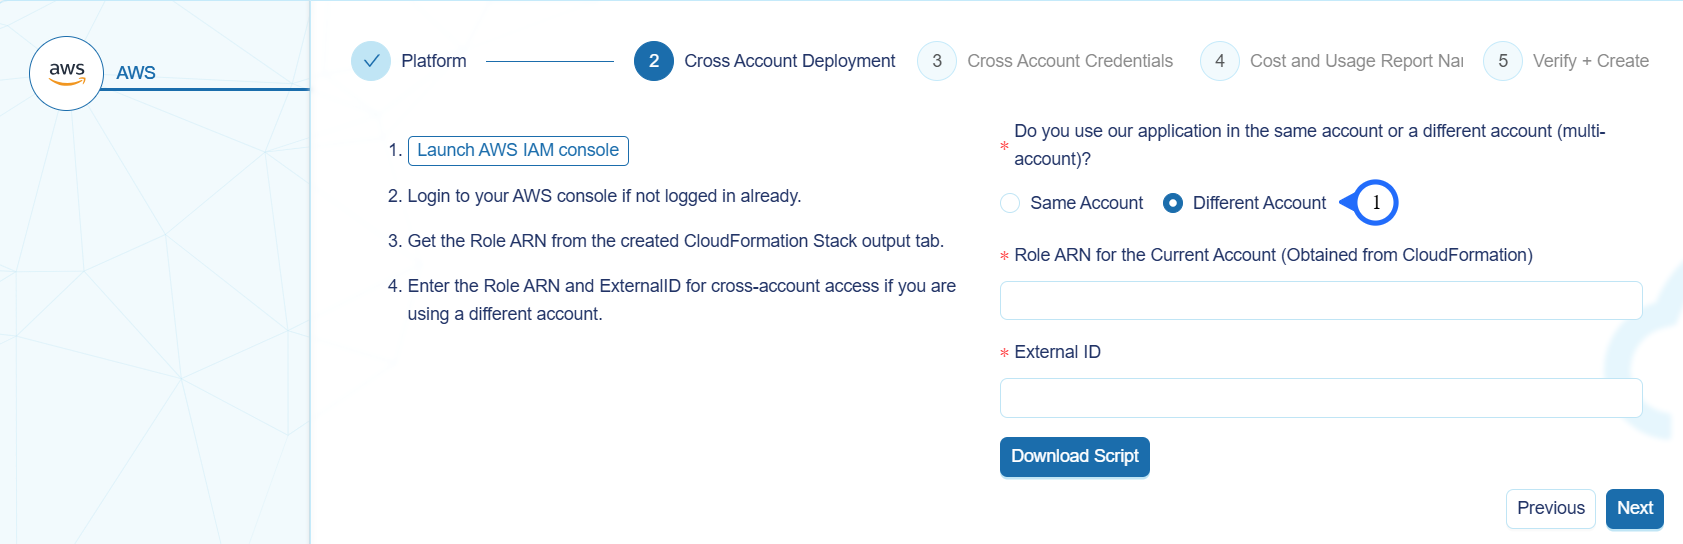
- Copy the role ARN from the created CloudFormation stack Outputs tab under value.

- Paste the ARN.
- Enter the External ID BMIE71OAJTL4C1M
- Click Download Script.
- Create a stack in another account with the downloaded script.
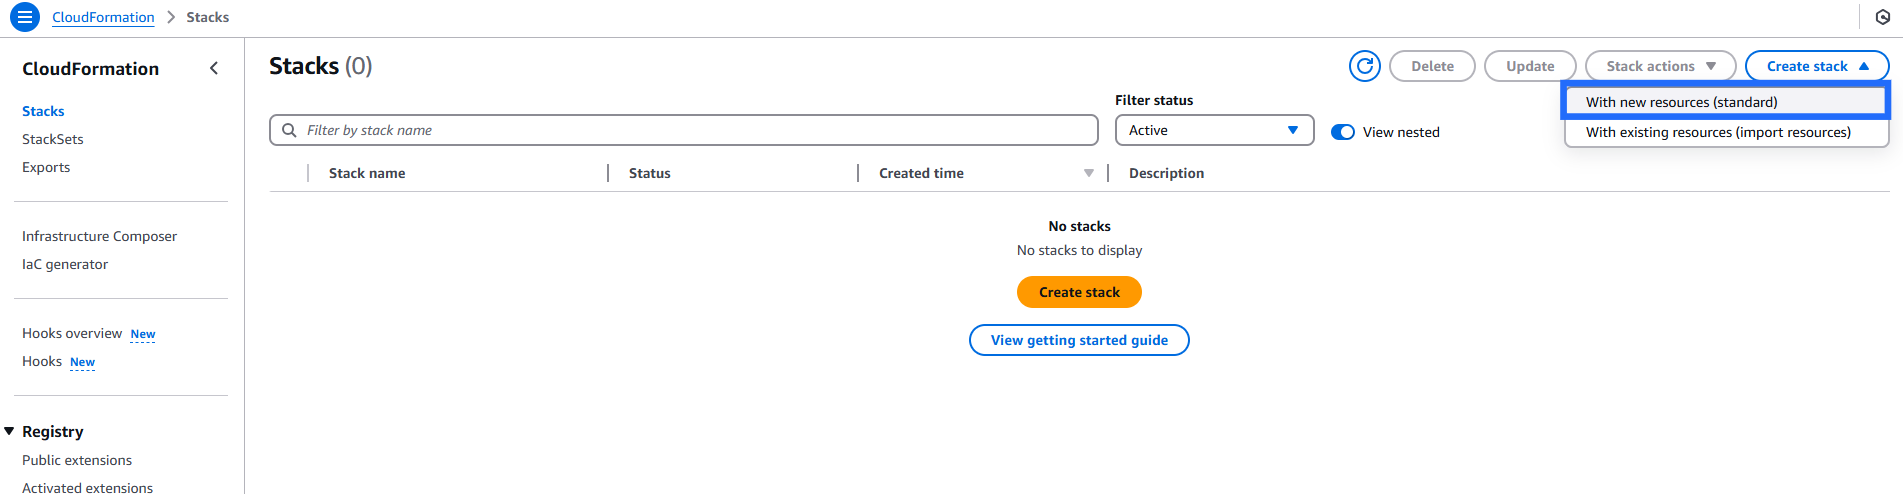
- Go to AWS CloudFormation console -> Create stack -> With new resources (standard).
Note
- The user must create the CloudFormation stack in the same region where CloudCADI is deployed.
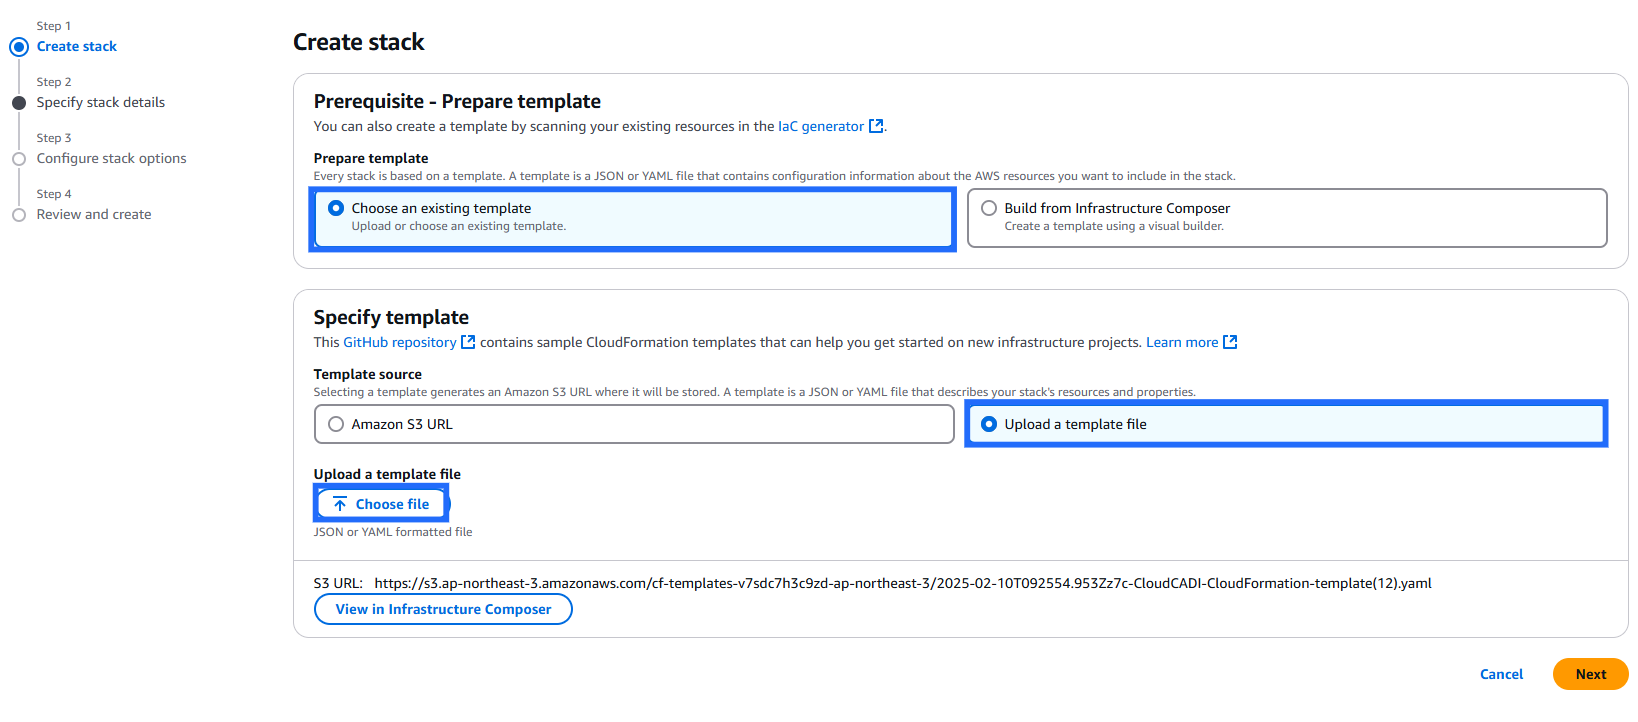
Create stack
- Prepare template: Choose an existing template.
- Template Source: Upload a template file.
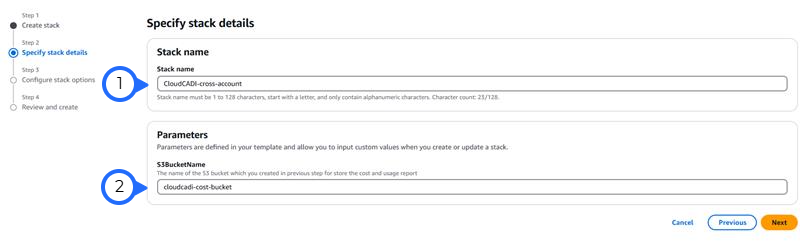
Specify stack details
- Stack name: CloudCADI-cross-account.
- S3BucketName: cloudcadi-cost-bucket.
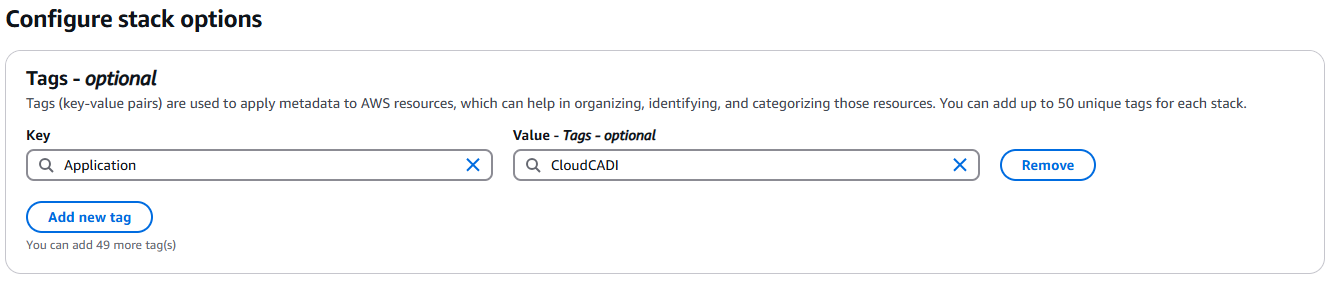
Configure stack options
- Add tags and click Next.
- Check options in below and click Next.
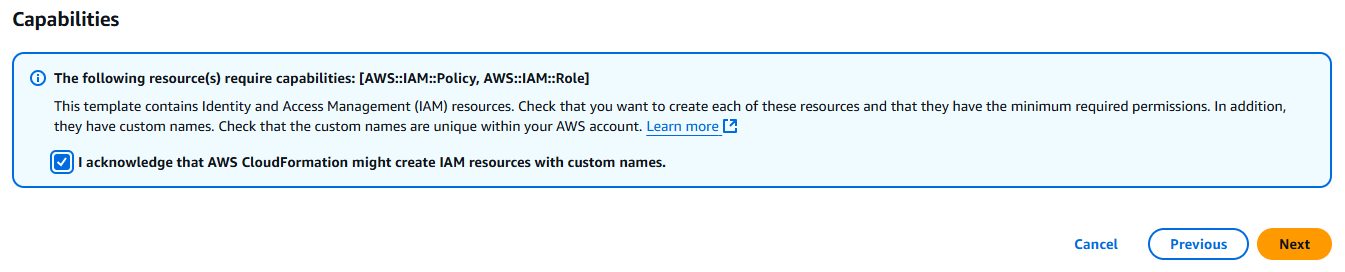
-
Review and click Submit.
-
It'll take up to 5 minutes to finish the resource creation.
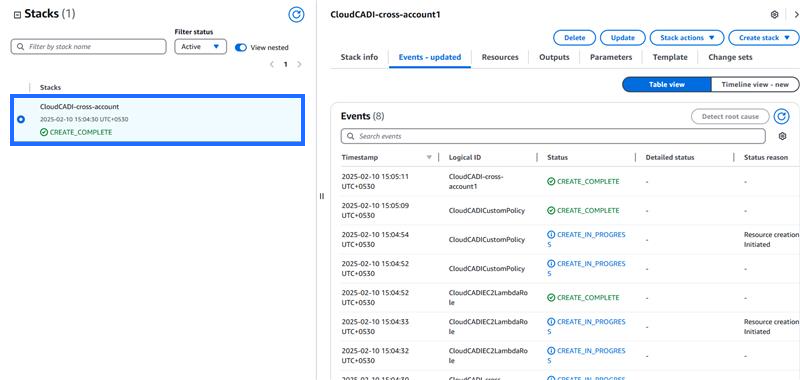
- Once the stack has been created successfully, go to the Outputs tab. Copy the role ARN
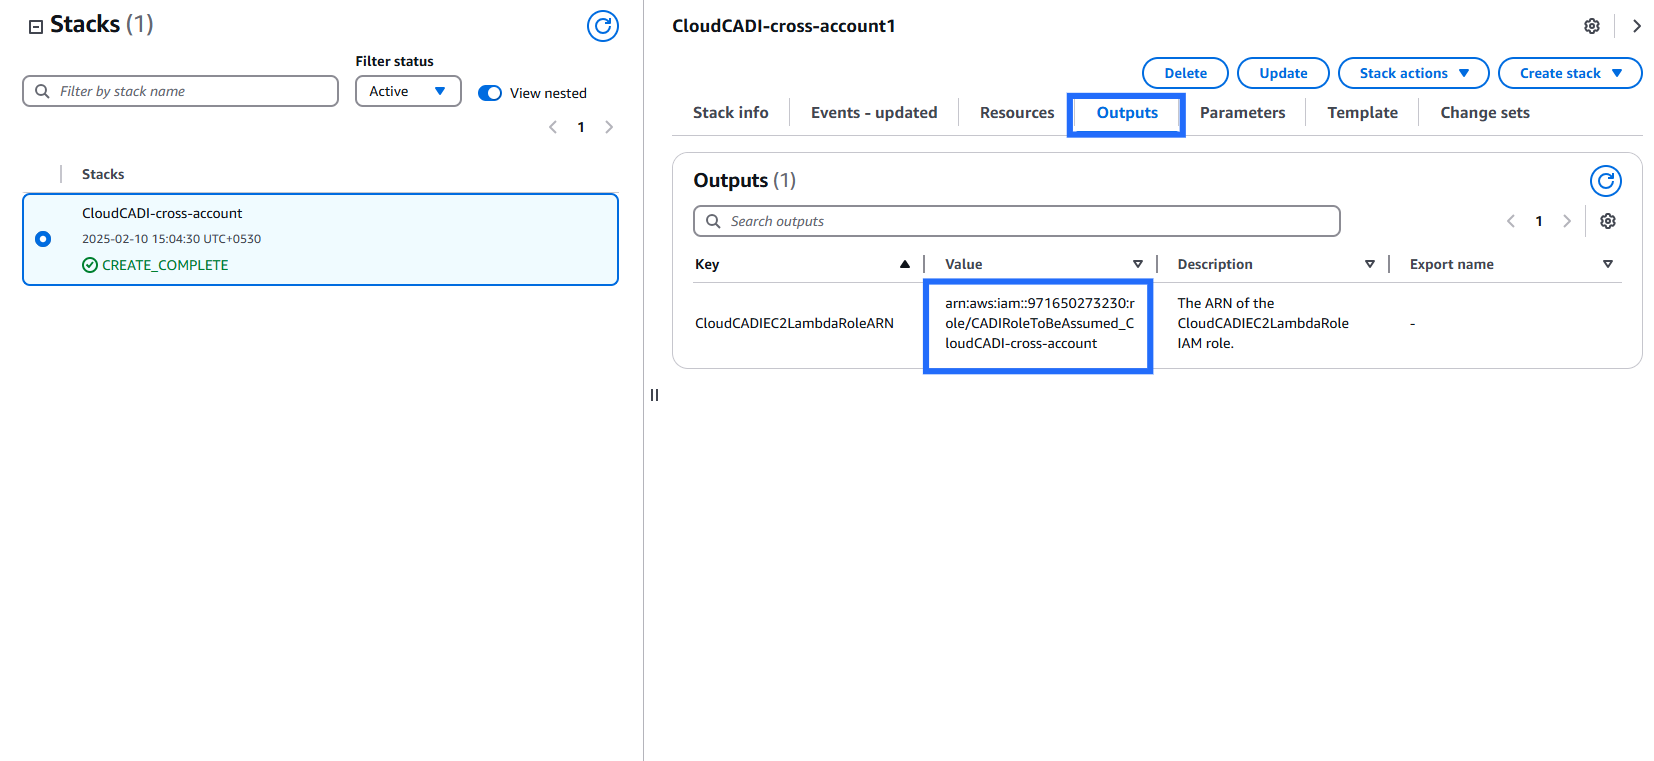
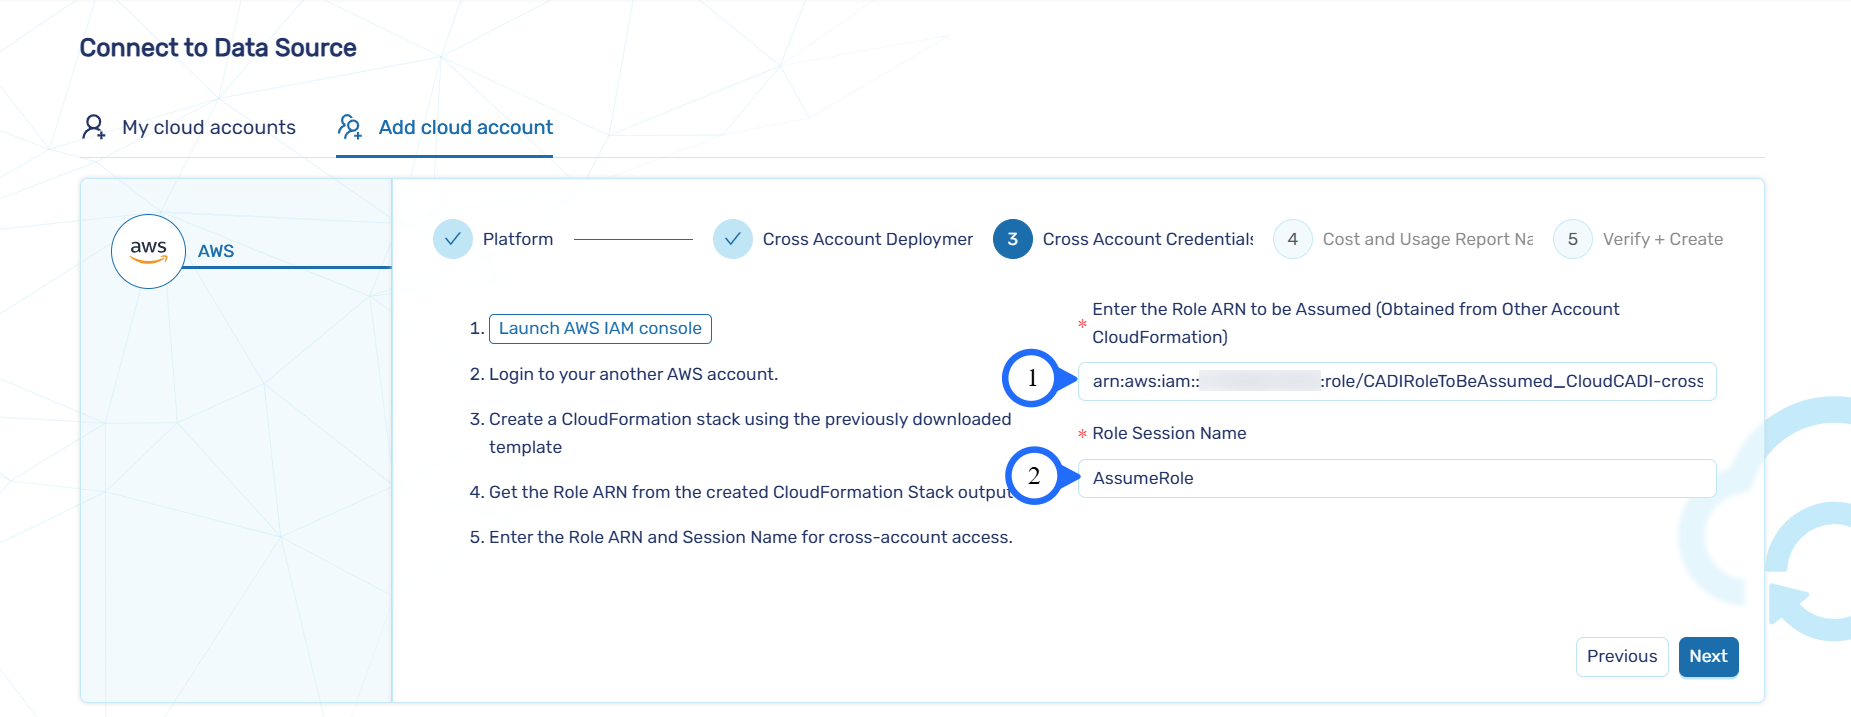
- Paste the ARN.
- Enter Role Session Name.
- Enter Cost and Usage Report configuration (created in Step 1 Environment Setup).
- Review and click Done.
3.3 Cloud Account Allocation for User by Admin
- In the admin page, the list of users will be displayed.
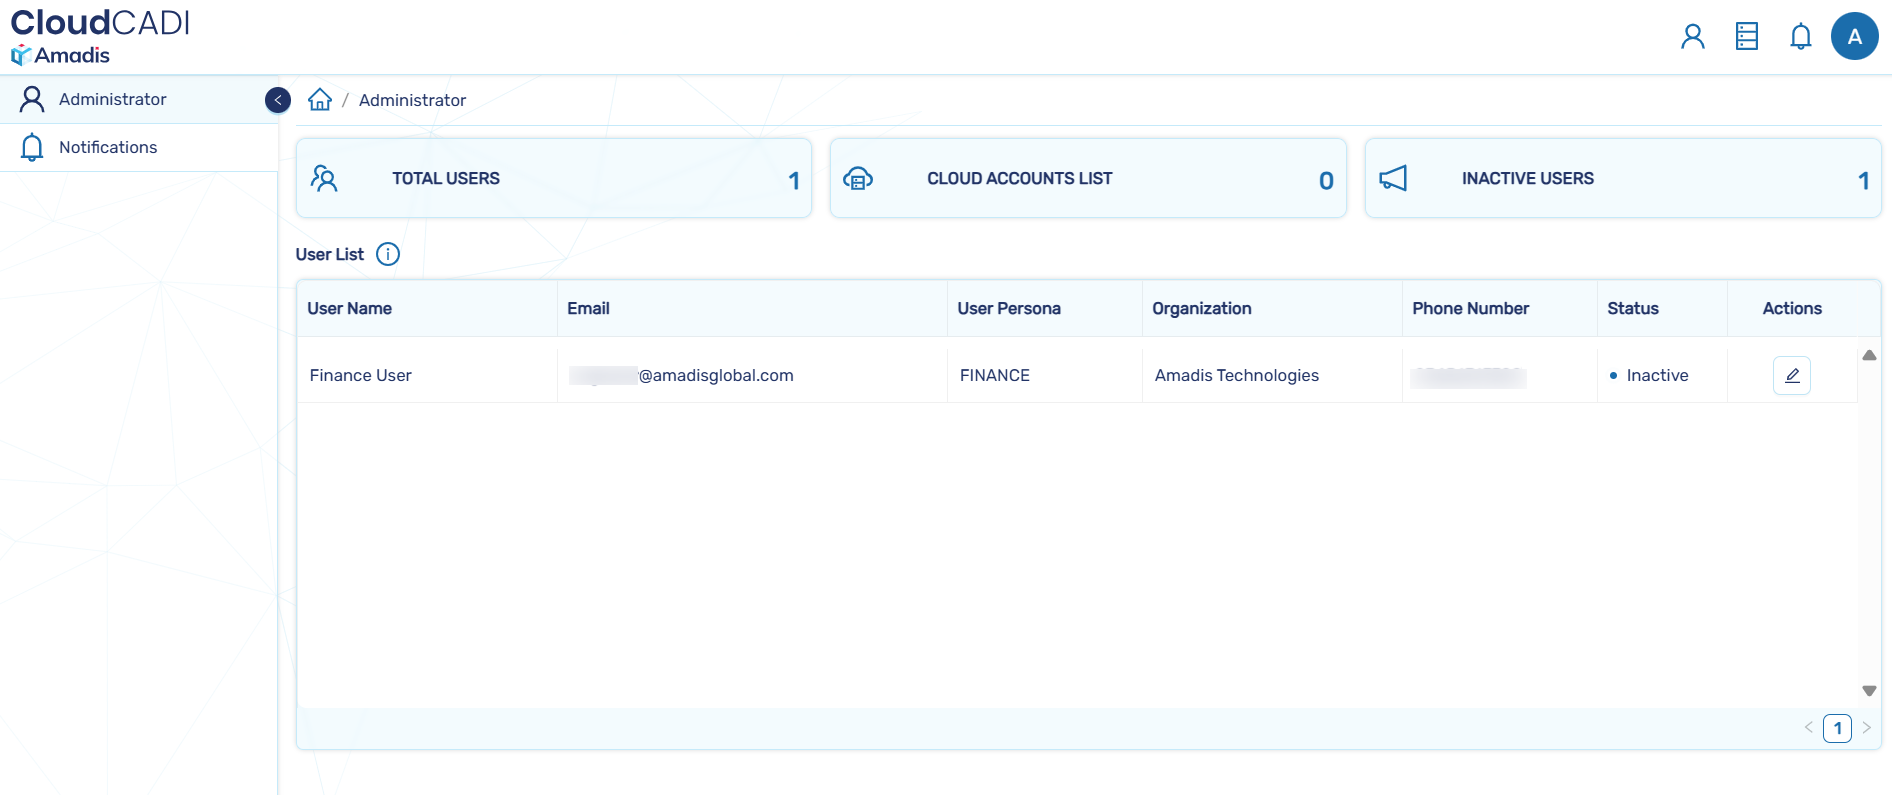
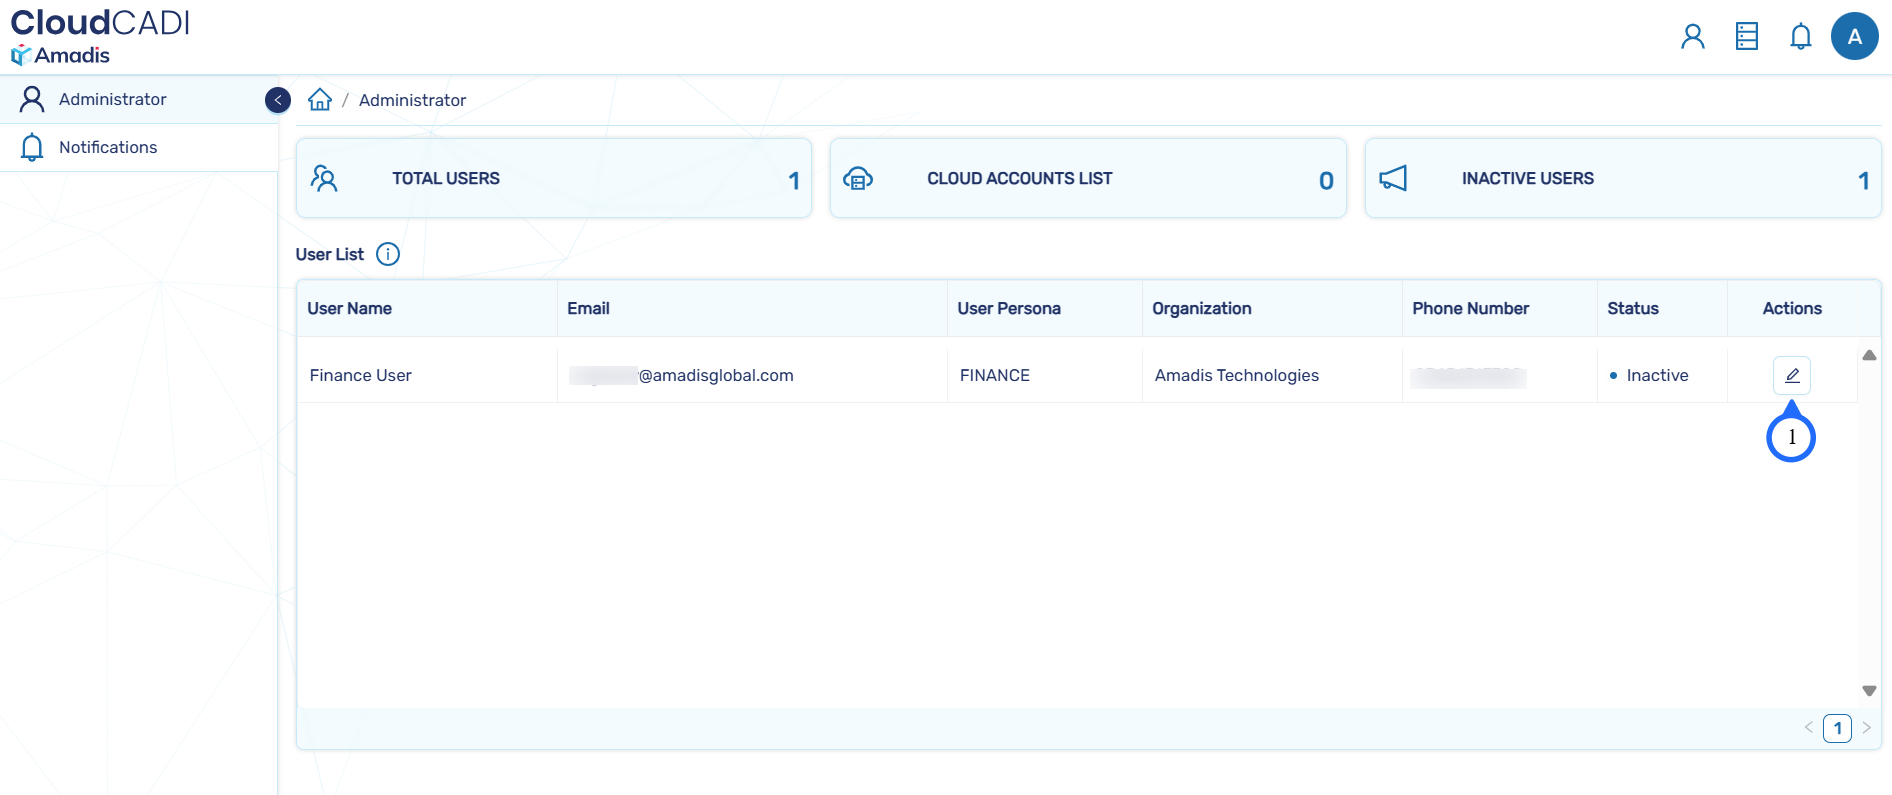
- Click on Actions button to update the user details.
Note
- Only Admin has the authority to activate and deactivate cloud accounts.
- Select the cloud account from the Cloud Account List, set status to active, and click on OK button.
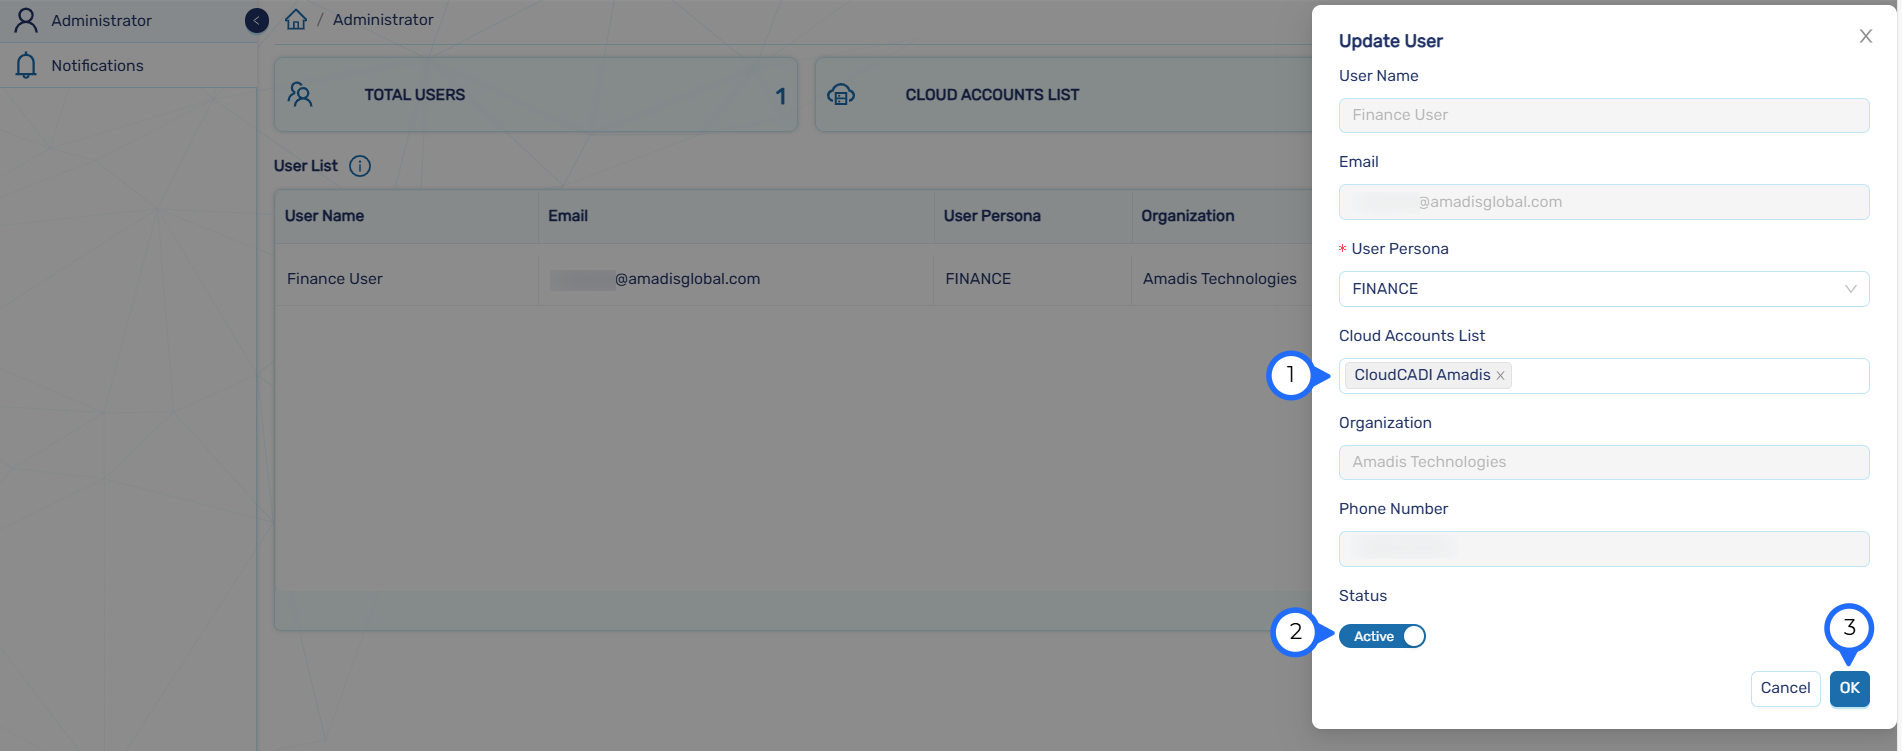
- The cloud account is allocated to the user by the admin.

3.4 Setting Up an User Account
- Visit PublicIP and Signup to CloudCADI.
- While signing in to CloudCADI, the user must select their respective persona choice: Finance, CXO, or Engineer.After that click on Sign up.
- A verification email will be sent to your registered email address.
-
After receiving the verification email, open it.
-
Click on the Verify Email button to complete the email verification process.
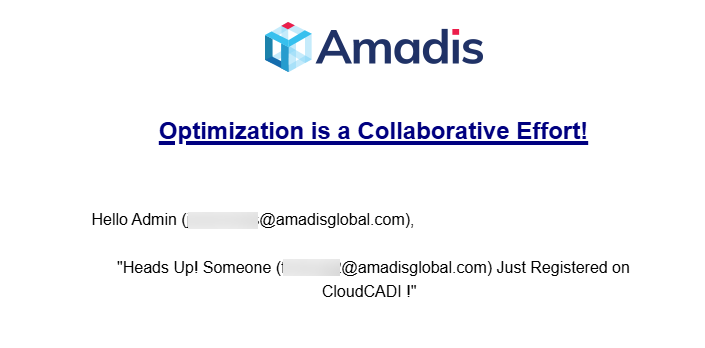
- An email notification will be sent to the admin for each user registration.
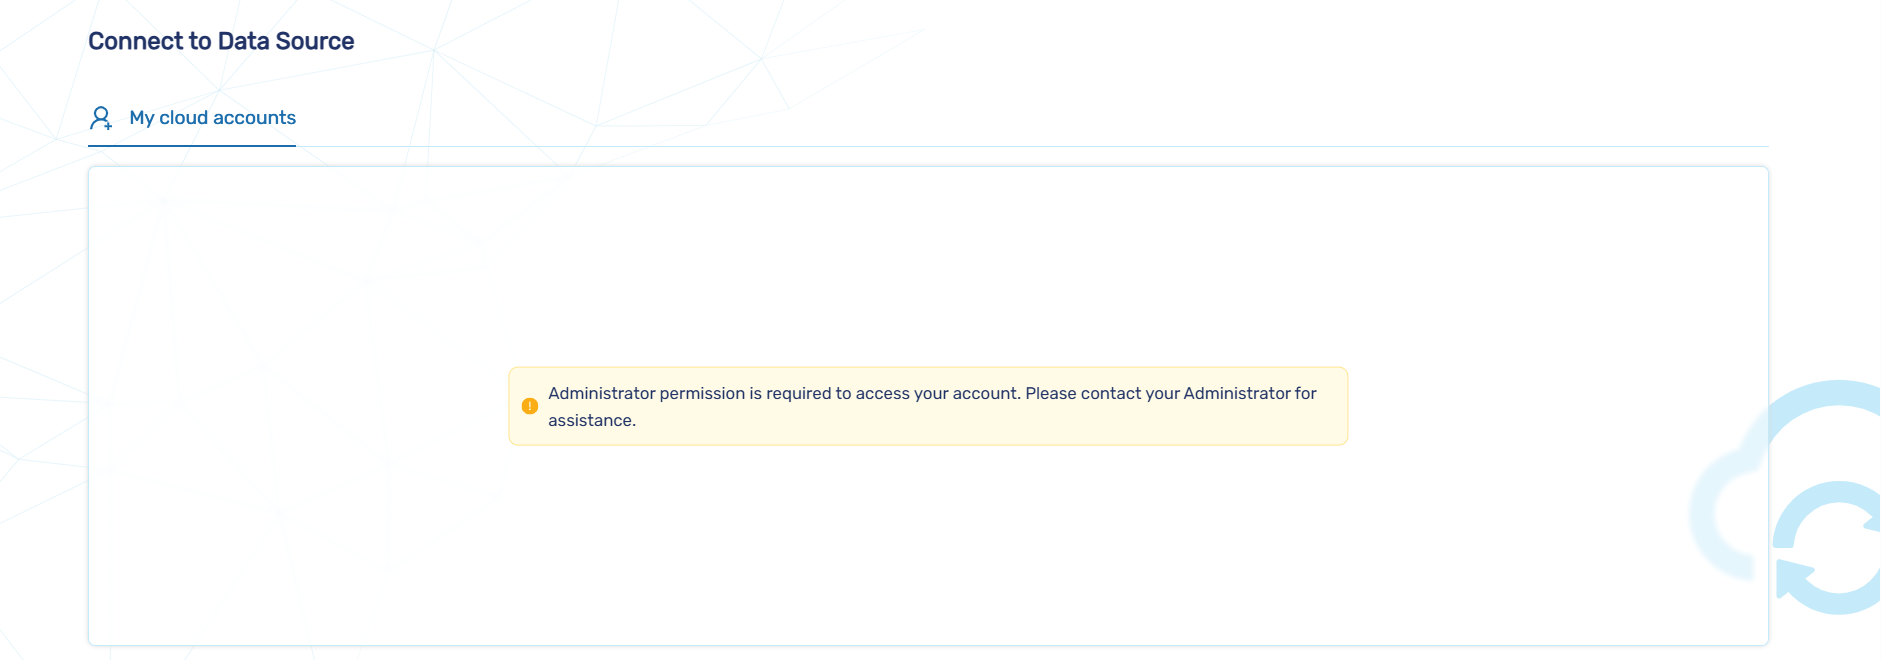
- Ensure the Admin has set up your Cloud Account.
Note
- For cloud account allocation refer to the Cloud Account Allocation for User by Admin section.
- After allocation, log in and sync the account that was created for you by the admin.